


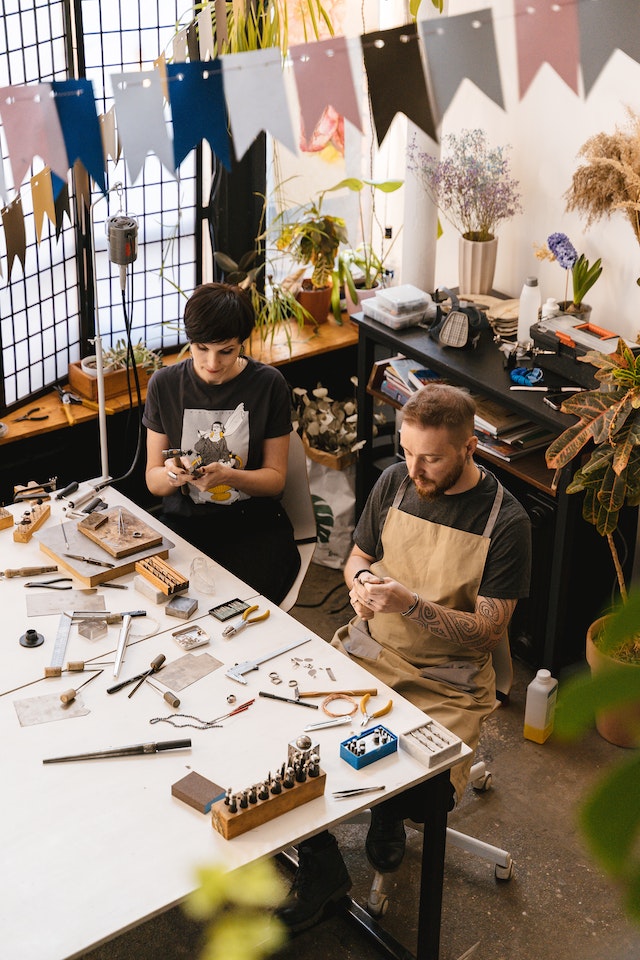
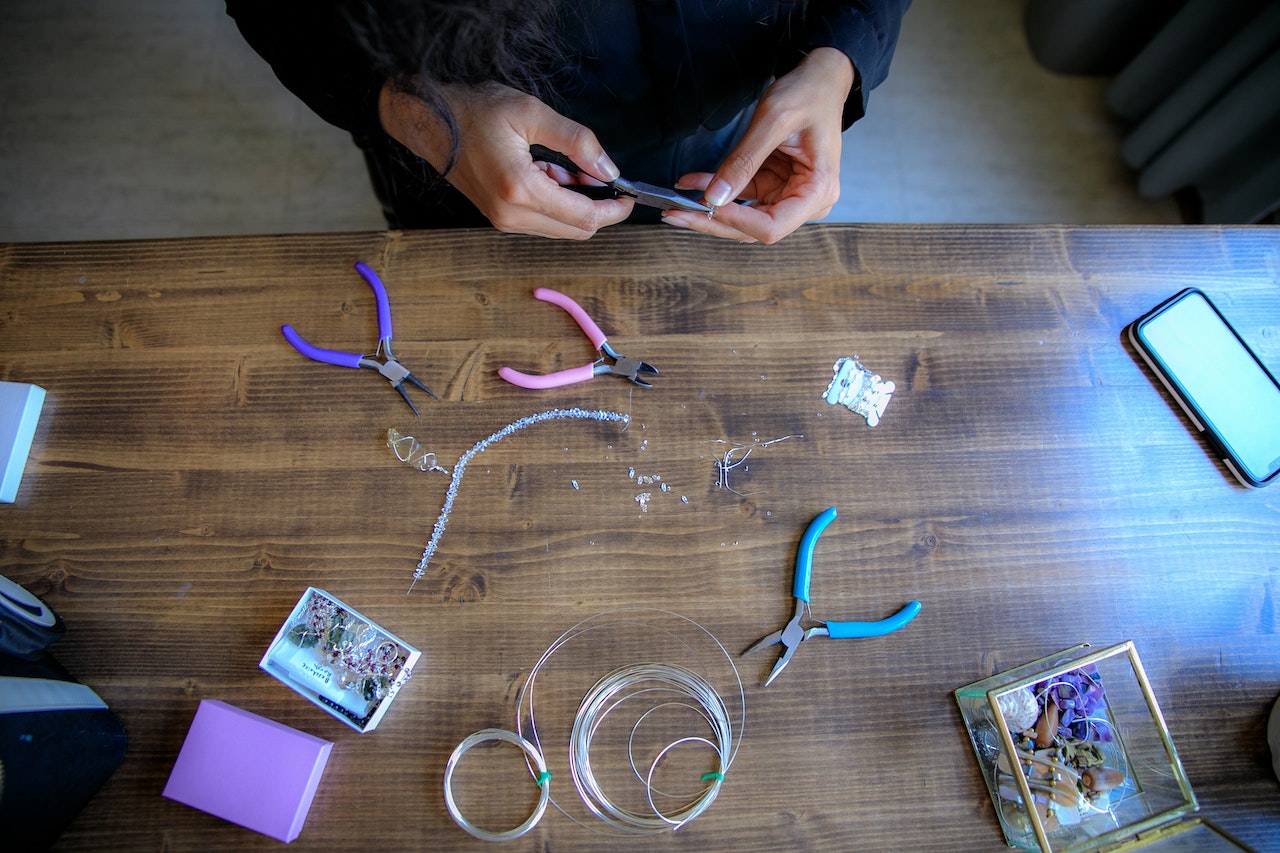
Developing your creative side through jewelry creation is a terrific idea. Also, you’ll have something hip and distinctive to wear from what you yourself enjoyed creating. You may manufacture it, sell it, or wear it. But first, you’ll need the appropriate jewelry-making equipment which you may need to purchase. You will want a set of flat nose pliers in addition to a few other wire-wrapping equipment if you want to create necklaces, earrings, bracelets, rings, and other jewelry. However, you need to be aware of the fundamentals before spending a lot of money on expensive equipment.
Your creativity won’t be hampered by a lack of appropriate equipment. However, it can become a difficulty once you start putting into creation what you have designed in your mind. Purchasing inexpensive tools will ultimately result in dissatisfaction. Look for well-made instruments that are as near to the top of the line as you can afford. Spend some time carefully selecting your tools. Many of these tools may be used for other purposes even if you never again make jewelry with them.
Here are some basic equipment for jewelry-making:
Nose-Flat Pliers
This is the most basic among the needed tool which you would turn to always. These pliers assist you with opening jump rings, tying off wire-wrapped ends, and a ton of additional jobs you can’t even conceive. To hold anything without crimping the metal, you might want to think about using two pairs. Make sure to search for pliers with a smooth surface in the area in between the jaws.
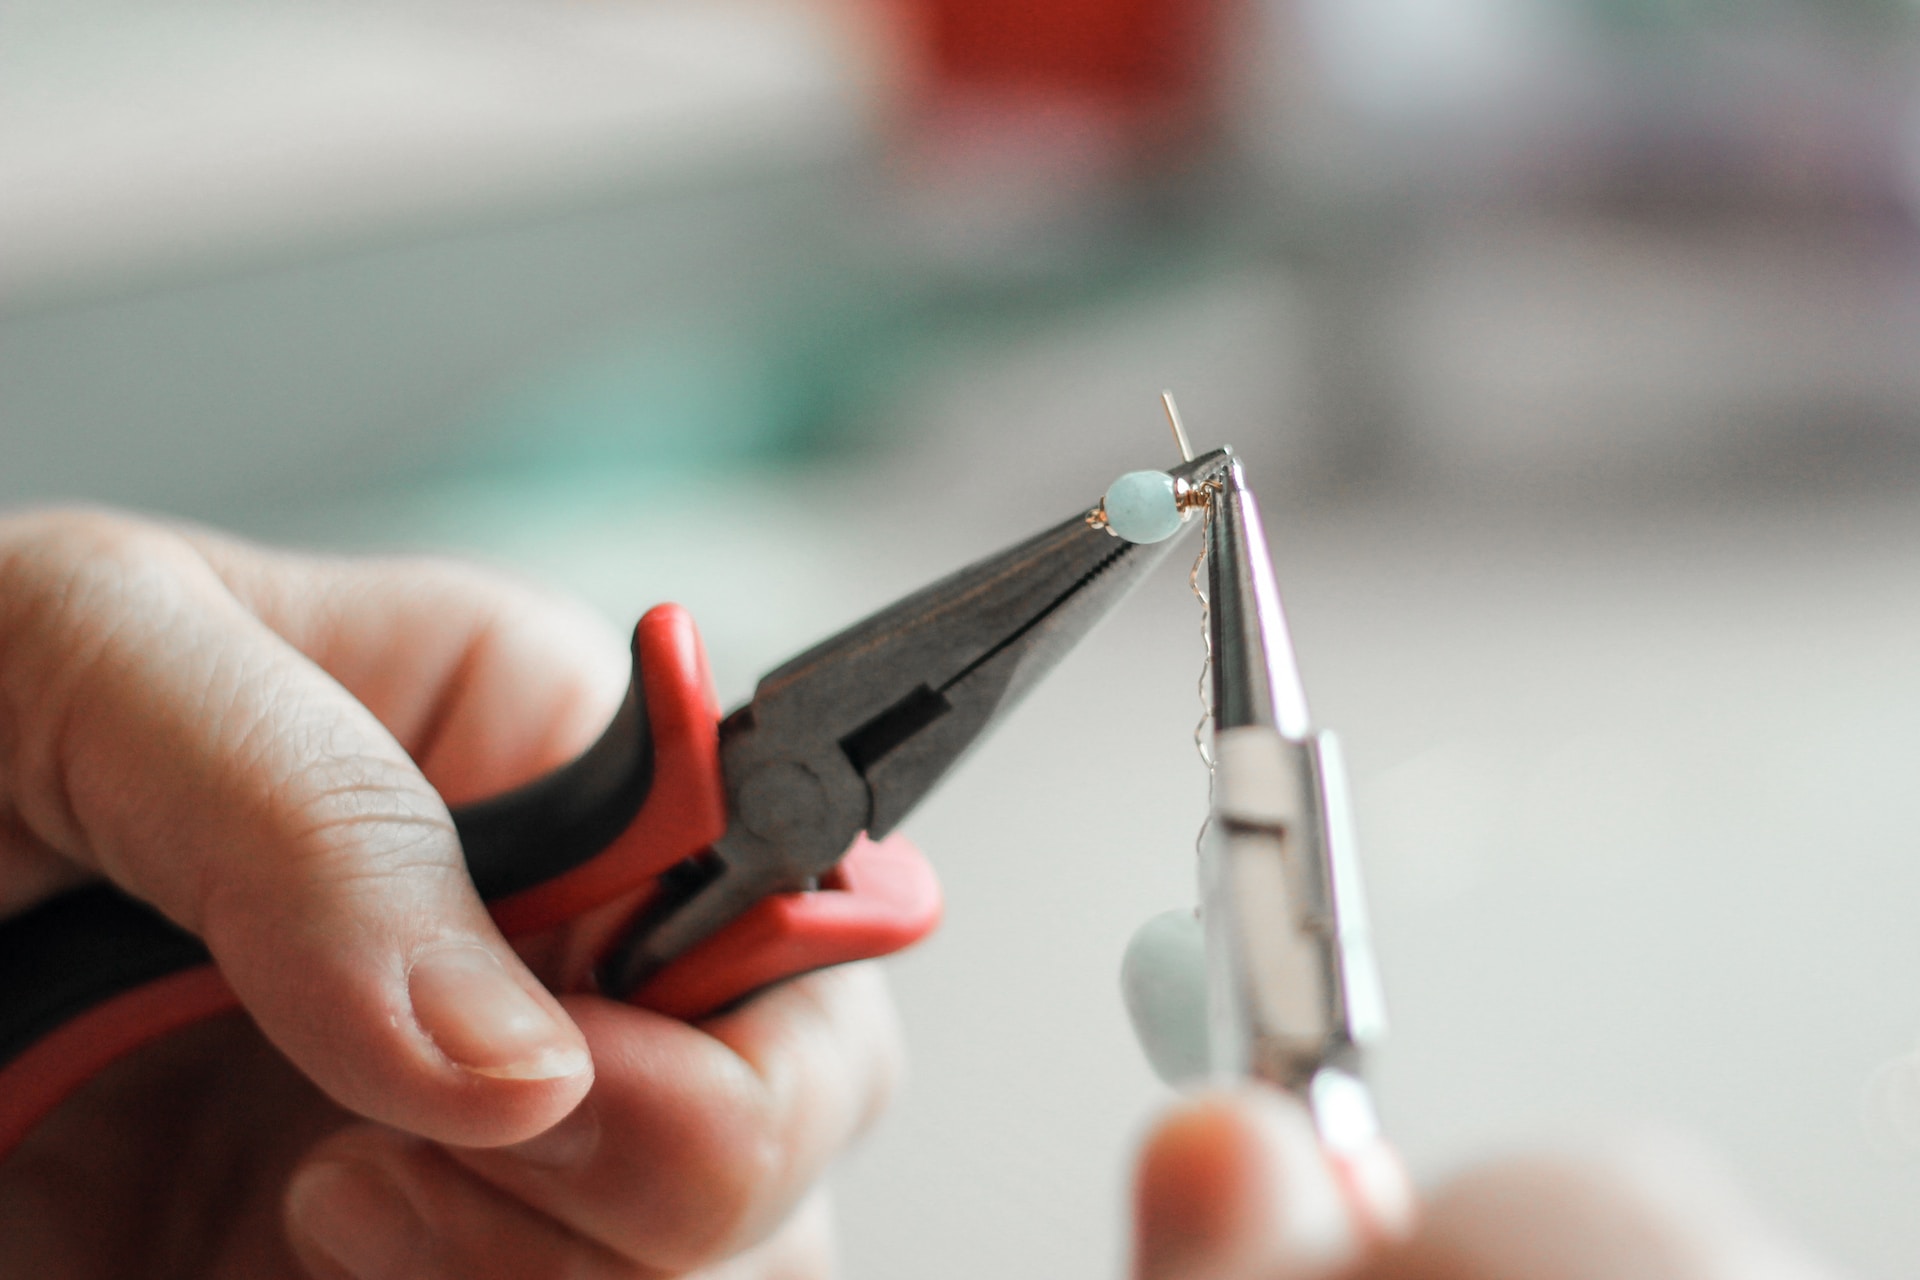

It is simpler to hold jewelry wire because of the non-tapered tip and vast surface area of the flat nose pliers. To form the wire and hold the other end during manipulation, you will still want two pairs of pliers if you decide not to buy this item. This task is best served by two sets of flat-nose pliers or by a pair of chain-nose pliers and a pair of flat-nose pliers.
Round Nose Pliers
These pliers are mainly used for jewelry creation so they are not typically found in Dad’s toolbox. Simple loops and other rounded wire parts may be made with ease because of the rounded edges of the pliers.
With round nose pliers, you may place your wire along the jaw to achieve the precise size loop you desire because the jaws taper towards the tip. Place your wire closer to the handles for a large loop and closer to the tip for a smaller loop. Mark the pliers with a permanent marker to create loops of a set size every time for a specific job. By doing this, you may always position your wire in the same spot. Simply use alcohol to clean the pliers after use to get rid of the mark.
You may use these to create wire hoops, bends, clasps, and jump rings. When you want to produce a lovely, smooth curve, you’ll reach for them.
Nylon Tipped Pliers
It takes some effort to become proficient at bending wire, and your material will surely develop some kinks. Just grab a set of pliers with nylon tips. Simply grasp the wire’s one end, tighten your hold with pliers, and draw the wire through to smooth it out.
Wire Cutters

These should be of high quality. There are many inexpensive ones available, and they may rapidly wear out, especially when attempting to cut thicker wire. Make the good investment as a favor to yourself in the future.
In any jewelry maker’s toolkit, wire cutters are a need. They enable you to cut stringing wire, eye pins, and headpins. However, considering that most houses already have one in their toolbox, you might not even need to buy this item. Before you buy a pair, see whether your spouse, father, or another family member has one laying around in the garage or shed first.
Drain Cutter
Flush cutters are used in the same way as normal, standard wire cutters, but they miraculously never leave loose ends! However, be mindful of the gauge of the wire you’re cutting because flush cutters can only take a certain size.
Crimping Tool
On projects where the wire appears in between beaded segments, some jewelers use flat nose or chain nose pliers to hammer a crimp bead into place. However, this is not advised since breaking the metal leaves a sharp edge that might slash tender flesh. Crimping tool, also known as crimping pliers, can be used instead. This tool have unique notches in the jaws for flattening and rounding crimp beads as they are attached to wires. The bead may be crimped using one notch, and then shaped into a circular using a bigger notch close to the end of the pliers. This device can also be used to fasten a clasp at the conclusion of a project.
Disk Punch
Do you wish to frequently and evenly cut out circles, squares, or even hearts? A disk punch is the only device you need to consider because it consistently creates the same forms.
You just slide the correct circular into a disk punch, sandwich a sheet of metal between the two layers, and hammer out the disk. I’ve discovered that a brass hammer works best since it’s hefty enough to give you a lot of extra strength and soft enough to deliver a hit with minimal rebound. Price, once more, equals capacity to deliver the same outcomes while saving you time.
Jobbing Hammer
The common jobbing hammer, sometimes referred to as a ball-pein hammer, has a flat and rounded head. The hammer’s flat end may be used with doming tools to shape your pieces into curves, and the rounded head provides a fantastic tool for texturizing.
Raising Hammer
One of the best hand tools for metalworking to create unique angular forms is the raising hammer. It will stretch and form metal sheet into a three-dimensional object using two rectangular heads. As a multipurpose metalworking tool for beginners that may be utilized across several applications, pick raising hammers.
Ring Mandrel
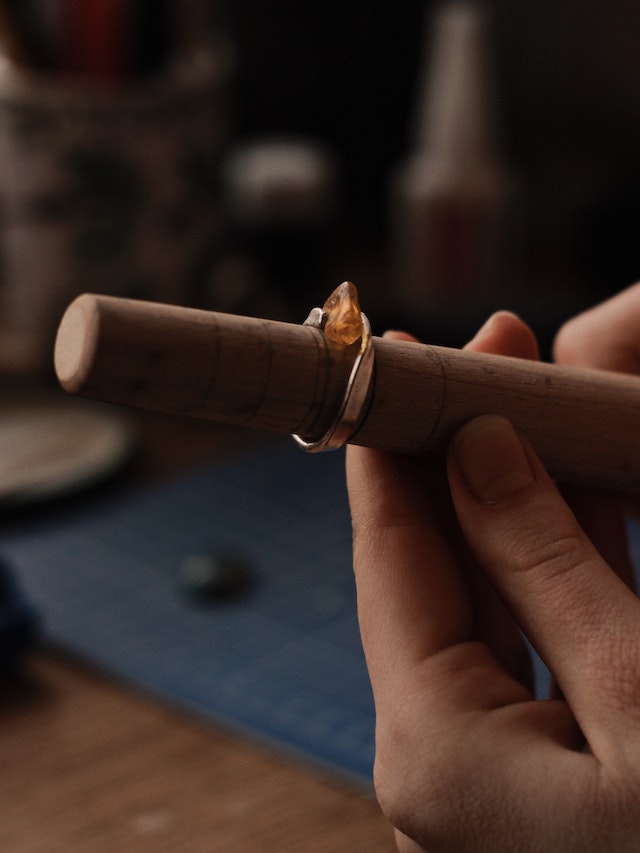

A long, tapered steel shaper called a ring mandrel or triblet is used to bend metal sheet into rings. For the most precise form and size, make sure to clamp your mandrel in a vice before usage.
Soldering Block
It’s crucial to have a secure workplace and an effective surface for soldering and applying heat. The ideal choice is a soldering block, which offers a surface that is fire-resistant and keeps the heat exactly where you want it.
Gas Torch
A good gas torch is required to solder your jewelry pieces. If you’ve never used a torch before, this little jeweler’s gas torch is a terrific place to start. It can solder tiny parts because of its modest flame.
Ruler
A regular ruler would be the most fundamental tool for making jewelry, and chances are you already own one. Because I can see through a graphing ruler, it makes things a bit easier for me to visualize.
Jeweler’s Saw
Use a jeweler’s saw if your designs are rather modest and need several small, complex cuts. Blades vary in sizes that range in applications, from tiny blades that hardly separate the metal to powerful, broad blades that remove more metal, giving you the opportunity to fine-tune the work of a piece.
Standard-sized blade frames and ones with a deeper throat depth are both available. If you’re working with a longer piece of metal or a larger chunk, the deeper one will enable you to make lengthier cuts. I use my little jeweler’s saw a lot more than my old, rusted one.
Bead Stoppers

If you have the money and wish to string beads, you might want to stock up on bead stoppers. By holding beads in place on the wire, these inexpensive tools may save you a ton of time. Squeeze the stopper’s loops on each end to stretch the springs apart. Then, release the loops and insert your bead wire. As you work on the other end of the craft, this will stop your beads from slipping off the other end.
Anvil
Using a jeweler’s anvil, you can accurately mold metal sheet. One end of the steel anvil will be squarely tapered, while the other will be rounded. It is easy to shape precious metal when it is supported and pounded against the anvil. There are several types of anvils available, but a small bench anvil is a terrific place to start and one of the suggested jewelry-making equipment for novices.
Wires
To mention a few, materials for wire include sterling silver, gold-filled, rose gold, aluminum, and copper. Wire also comes in a variety of diameters, or “gauges”. Although it seems contradictory, the wire is thinner the higher the gauge number. The three sizes listed here are what you need for your jewelry toolbox.
- 24 gauge wire Wire – You should use this gauge for projects that require a bit additional tensile strength or beads that may have wider holes.
- 26 gauge wire – Most beads may be passed through this wire. It is light enough to be easily wire-wrapped yet substantial enough to be safe. Just be cautious not to repeatedly crimp or bend it—it’s not very robust.
- 28- or 30-gauge wire – You’ll need to have some extra-thin wire on hand if you plan to work with tiny precious stone beads, which are distinguished by their incredibly tiny holes. Just be aware that this wire isn’t the ideal option for wire-wrapping those stones onto a bracelet (or any piece that will be jostled around) because it’s very fragile.
Precious metals
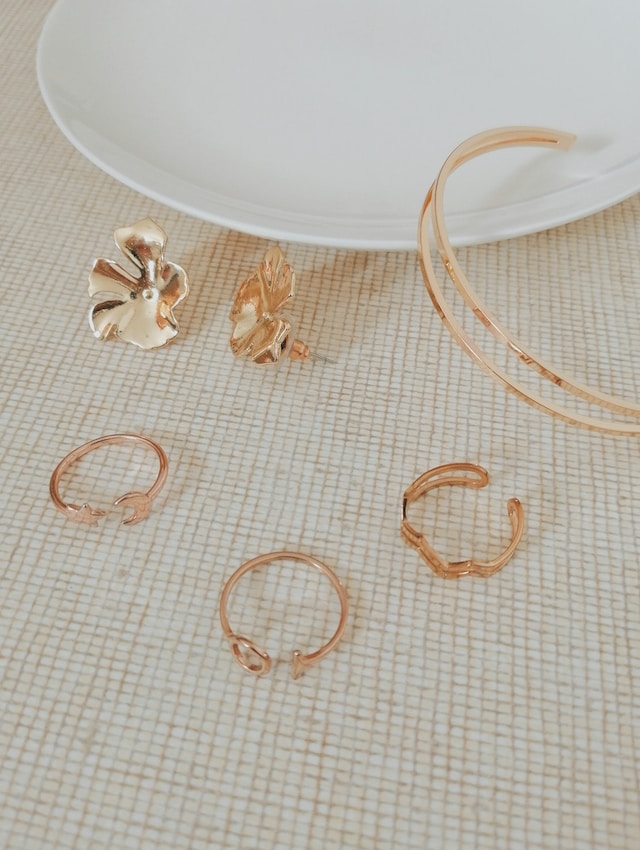

Metal is one thing you’ll need to start with that isn’t a tool. In addition to round, square, triangular, and oval wire in various gauges, patterned wire, and patterned bezel material, silver and gold are also offered in sheets with various thicknesses. Try using sterling silver for your first project. It is more affordable than gold.
A little history
Many styles of jewelry that are still produced today started out as useful goods. The clasps that kept garments together are where pins and brooches got their start. Early seals and symbols of status, power, and identity were worn on rings and pendants. It was 25,000 years ago when the oldest jewelry was discovered. This was a straightforward fishbone necklace discovered in a cave in Monaco.
As crucial as the requirements we meet in taking care of our bodies might be the urge to feel accepted and like we belong Since having a strong sense of self and identity is not a luxury, belonging also serves as a requirement. The first decorations were from the hunt and were made of teeth, claws, horns, and bones.
Conclusion
A highly popular activity that may help you improve your creativity and skills is jewelry creation. But like with any art, using the proper equipment is essential to producing results of the highest caliber.
Today, a large range of specialist jewelry-making instruments are available to ease your work and provide results of the highest caliber. But with so many alternatives available, it can be difficult to choose which tools are appropriate for your requirements
Look around; you might find something you can hack. It’s incredibly simple to speed through the process when making jewelry because you’re enjoying yourself so much. It’s typically easy to get burnt or cut during that period. Even if nothing else, taking your time may prevent mistakes from occurring and the need to restart your project. Work safely, please.