


Decorating is fun and you can use it to express your joyfulness about the seasons throughout the years. There are two spaces in the house that are easy to decorate: first one is the mantel, and the second one is the front door. The front door is the most visible part of your home, so it’s the best space to start if you want to get a bit artsy. Here are some decorating ideas so you can add some pop of color and style to your front door.
Spring and summer décor
Prettify your front door with these charming decoration ideas perfect for the warm and bloomy seasons.
Wagon wheel farmhouse style wreath
Add an adorable farmhouse flavor to your front door with a decorative wagon wheel used as wreath.
Materials:
- Western Wood Wagon Wheel Wall Décor
- Eucalyptus garland
- Artificial ranunculus flowers
- Mini galvanized watering can
- Thick ribbon (preferably with color close to the flowers)
- Wire cutters
- Industrial adhesive
- Glue gun and glue sticks
- Thumbtacks
Instructions:
- Using a glue gun, secure the eucalyptus garland to the wagon wheel’s outer frame. Cover only two-thirds of the wheel, and let the remaining parts undecorated. Make sure you stick the garland in the manner that the part of wagon wheel’s outer frame is fully covered.
- Hot glue the heads of artificial ranunculus flowers throughout the greenery. Lay them out first to see where you want to glue them.
- On your work space, position the wreath in a manner where the two-thirds covered by greenery is occupying the left and bottom side of the wheel. Use an industrial adhesive to glue the small galvanized watering can to the wagon wheel, next to where the eucalyptus garland ends on the right side of the wheel. Let glue dry for a few minutes and set aside.
- Once you’re sure that everything’s firmly glued, hang the wheel on your front door using a thick ribbon. Let the ends of the ribbon reach the back side of your door and keep it secure with thumbtacks.
Hanging basket with flowers
A wicker basket can become a perfect vessel for displaying fresh blooms on your front door.
Materials:
- A&B Home Wicker Basket, Large
- Fresh flowers
- Hook
Instructions:
- Fix a hook on your front door.
- Gather fresh flowers and blooms in your garden and arrange them inside the basket.
- Once you’re satisfied with your arrangement, you can hang the basket by the hook. If you want a decoration that doesn’t need to be kept fresh once every week, you may opt for artificial flowers.
Tulip wreath
Make a stunning tulip wreath to add a burst of spring color to your house. With faux blooms, you can be ensured that the wreath will last all year long.
Materials:
- Artificial tulips (preferably a combination of three different colors)
- 14″ Smooth Foam Ruled Wreath
- 1.5-inch satin ribbons (2 spools, one color)
- Floral pins
- Bakers twine
- Glue gun and glue sticks
- Wire cutters
Instructions:
Remove the large stems from each artificial tulip flowers using wire cutters. Leave the greenery up to the base of the blooms.
- Secure the ribbon to the wreath using hot glue or floral pins.
- Start wrapping the ribbon to fully cover the wreath, and tuck in some tulips as you go. Tuck in tulips securely and near where the leaves connect to the stem. Your ribbon must overlap a bit towards the center of the wreath, and it must barely overlap on the outer edge. Be consistent with it, as otherwise, you will wrap the ribbon too closely and you’ll run out of flowers or ribbons or both.
- Finish the wreath by wiggling the last few stems with the first few stems. The foam must be covered with enough tulips to fill the space. Use hot glue if you need to.
- After placing the last tulip, secure the ribbon with hot glue or floral pins, then add a loop. Fold in the ribbon over the loop and secure it to your wreath. Hang your masterpiece on the door.
Umbrella bouquet
Make a unique spring decoration on your front door with the use of umbrella and some blooms.
Material:
- Classic umbrella
- Fake flowers
- Ribbons
Instructions:
- Gather some fake flowers complete with the stems. Place them inside the half side of the closed umbrella, like in a bouquet.
- Create your own flower arrangement. The flowers and leaves must come out of the top part of the umbrella, with only the stems hidden.
- Once you’ve created a perfect arrangement, ribbon up the lower part of the umbrella to gather up the stems inside. Imagine tying up a bouquet – that’s how it must look.
- Hang the umbrella in your front door by its handle.
Fall décor
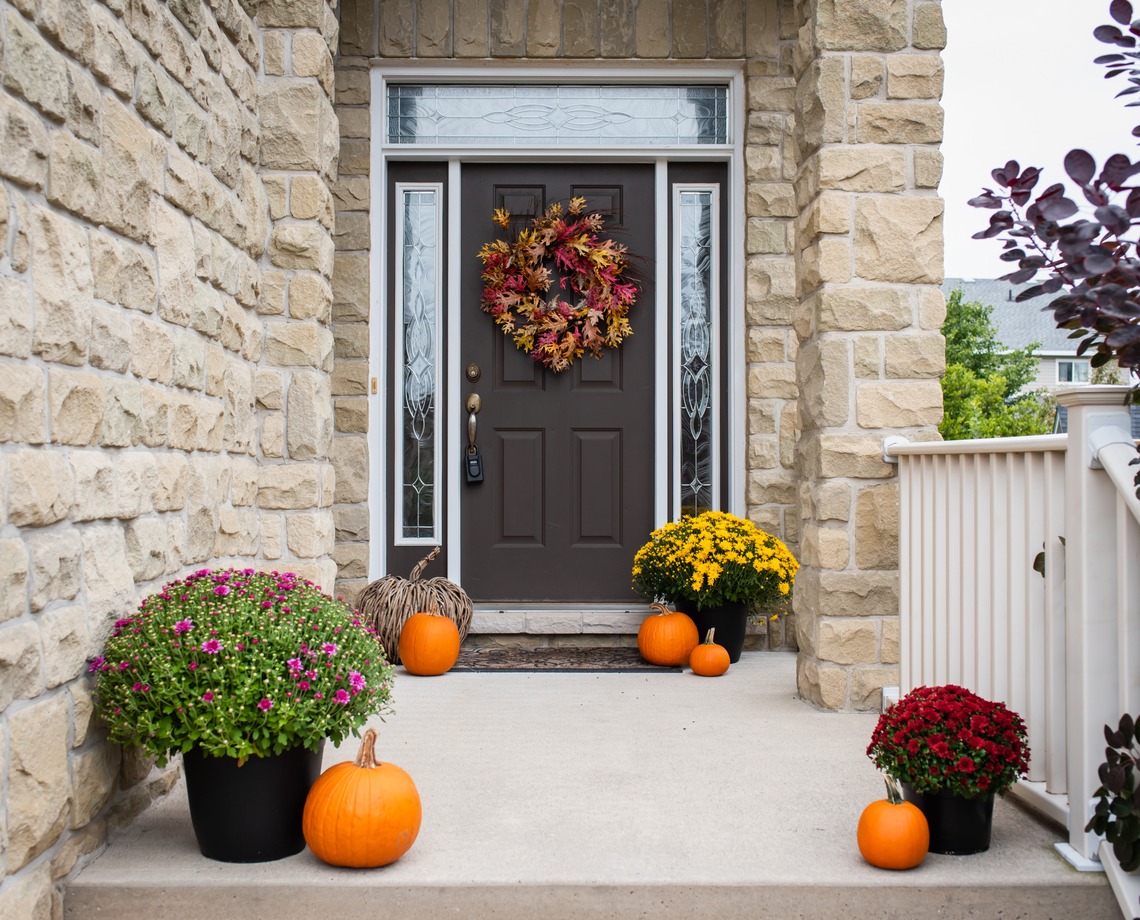
The nature during fall brings us amazing colors. It’s also a great season to decorate your home that embrace this lovely season with these unique front door decorations.
Scarecrow
Create a cute scarecrow out of a floppy straw hat with a wide brim. This is an adorable autumn decoration that can bring delight to your guests.
Materials:
- Wide brimmed, floppy straw hat
- Faux autumn flowers
- Artificial fall maple leaves
- Natural raffia
- 2 large googly eyes
- 1.5” – 2” ibbon (preferably orange, yellow or red)
- Black stick-it felt
Instructions:
- Take about ½ of the contents of the natural raffia package. Find the center of the hat and wrap it with the raffia pieces. Hot glue the ends so it won’t stray, then position it on the middle top of the hat dome. These raffia will serve as the hair of the scarecrow.
- Fold over the brim of the hat, concealing the knot where you tied up the raffia.
- Take your flowers and separate them from the end, so you get individual pieces of greenery. Use wire cutters to cut them to your desired length.
- On the folded brim area, start poking the pieces to make an arrangement. Finish it with a sprig of leaves straight through the center into the back portion of the hat. Secure by twisting the stems.
- Now, it’s time to make the face of your scarecrow. Use the two googly eyes as the eyes and hot glue them on the hat. Use some berries from the faux flowers (or anything round) as the nose and glue it to the top of the hat.
- Take the black, stick-it felt and cut it into a mouth shape that you like, be it a smile, a frown, a scowl or whatever.
- Now that you have a face, arrange the raffia to the way you want it. In other words, style your scarecrow’s hair.
- Hot glue some autumn leaves on random places of the hair so as to look as though autumn leaves are falling from the trees on the scarecrow. This also helps the raffia stay in place.
- Use your ribbon to make a bow to give your scarecrow a bowtie. Once you’ve made a bow, hot glue it to the bottom side of the hat, under its face.
- Hang it by the door.
Chalkboard wood slice
Deviate from the typical fall wreath by making a chalkboard out of wood slice and decorating it with your faux, favorite fall flowers. Here’s an opportunity to express how you love fall, or how thankful you are for Thanksgiving.
Materials:
- Wood slice
- Chalkboard paint
- Faux flowers and greenery
- Floral wire
- Paint brush
- Glue gun and glue stick
- Fishing line
- Saw tooth hanger
- Vinyl or chalkboard pen
Instructions:
- Paint one side of your wood slice with chalkboard paint. Let dry and add a second layer.
- Write a message using a white chalkboard pen to make it more permanent.
- Attach a saw tooth hanger on the back of the wood slice.
- Get your faux flowers and greenery, and arrange a floral swag out of them. Secure it using floral wire and hot glue it to the top of the wood slice.
- Hang it using a fishing line. Tie the fishing line around the saw tooth hanger and secure it to a nail at your door.
Antler wreath
Antler décor is popular, so why not associate it with fall? Instead of making a circular wreath, make a wreath out of antlers instead. This project is very easy.
Materials:
- Faux antler
- Fall flowers
- Twine
- Burlap ribbon
Instructions:
- Make an arrangement of flowers using a few stems to make a small yet pleasing bunch.
- Use the twine to tie the flowers to the base of the antler. The twine also adds an organic feel to this wreath.
- Tie a piece of burlap ribbon around the base where you tied the twine. This will serve as the wreath hanger. Make sure the ribbon is tied well to the antler – you can use hot glue if you need to.
- Hang your antler wreath by the nail at your door.
Framed and wooden décor

For a unique and charming front door decoration, you can use these crafts out of wood and frames that can be used all throughout the season. Here are some easy-to-do crafts you can do using your salvaged materials from the basement or garage.
Picture frame wreath
Do you have an empty picture frame? Why not decorate it and use it as a front door décor? This one’s an easy and economical project for your front door decoration.
Materials:
- Artificial flowers
- Old rectangular picture frame
- Wreath hanger
- Wire cutters
- Glue gun and glue stick
Instructions:
- Gather a small bunch of a variety of flowers from your artificial flower bunch. Create a flower arrangement that will rest on the top left of the frame and trailing down.
- Once you’re settled with your arrangement, hot glue the fake flowers on the frame.
- Hang the wreath hanger by the door and place the frame on it.
Cabinet door chalkboard
If you have an old, wooden kitchen cabinet door, you can repurpose it to make a cute hanging chalkboard where you can write little welcome notes for your guests. If you don’t have one, you can go to the thrift store to buy a cabinet door.
Materials:
- Kitchen cabinet door (choose something with a flat center)
- Chalkboard paint
- Your acrylic paint and color of choice
- Foam brushes
- 1” gingham ribbon
- Drill
- Sandpaper
- Rags
Instructions:
- Sand the cabinet door lightly to make the material extra smooth. Wipe the dust off.
- Paint the center of the cabinet door with chalkboard paint. Let dry. Add another coat and let dry completely.
- Paint the frame with your acrylic paint. Apply two coats too, just like what you did with the chalkboard paint.
- Once the paint has dried up in the board, drill two ¼” holes on the top.
- Loop your gingham ribbon from the back to your desired hanging length, then tie a bow on it at the front side of the board.
- Add a message on the chalkboard you created – have fun, it’s up to you!
Big wooden tags
Using wood to make décor is an easy way to decorate. With these giant wood tags, you can add a simple two-word phrase that fits your theme. Print out your words on a piece of paper first (in your font of choice) so you can have a guide for tracing to the wooden tag.
Materials:
- 2 pieces ½” plywood (18” x 7”)
- Arts and crafts jute rope
- Black acrylic craft paint
- Print out of lettering
- Ballpoint pen
- Paintbrush
- Clear spray poly
- Miter saw
- Drill and 1” spade bit
Instructions:
- Cut your 18” x 7” plywood to a tag shape. Drill a 1” hole at center top.
- Get your print out and position it on top of the plywood where you want the words painted. Using a ballpoint pen, trace the letters unto the wood with heavy pressure.
- Paint on the inside of the indent left behind by the pen using black acrylic craft paint. Let dry completely.
- If you want, you can use a clear semi-gloss poly to protect the wood from moisture.
- Add jute and tie the tags into a knot. Hang it by the door.
Letter monogram décor
Using monograms are a fun way of paying homage to your family name. Letter monograms have been a decoration trend, and it brings a lovely look on your front door.
Jute-wrapped monogram decor
Jute adds a natural elegance, perfect for adding farmhouse charm to your door.
Materials:
- Paper mache letter
- Arts and crafts jute rope
- Felt flowers
- 1 ½ inch black ribbon
- Glue gun and glue
- Scissors
Instructions:
- Secure the jute on the backside of the letter with your glue gun. Start with the edge. Vertically wrap it tightly around one side of the letter, then move to the other vertical side.
- Glue pieces of jute to the four sides of the angled section. This will give the second layer of jute to hold on to.
- Start wrapping the letter horizontally. Make sure the ends of the jute rope are always glued to the back side of the letter. Methods will vary depending on the letter you choose, but the rule is to start vertically, then horizontally.
- Once you’re done wrapping the letter, decorate it with felt flowers. Create a bow to add additional design. Hot glue them to place.
- Use the ribbon to create a handle, so you can hang it by the door.
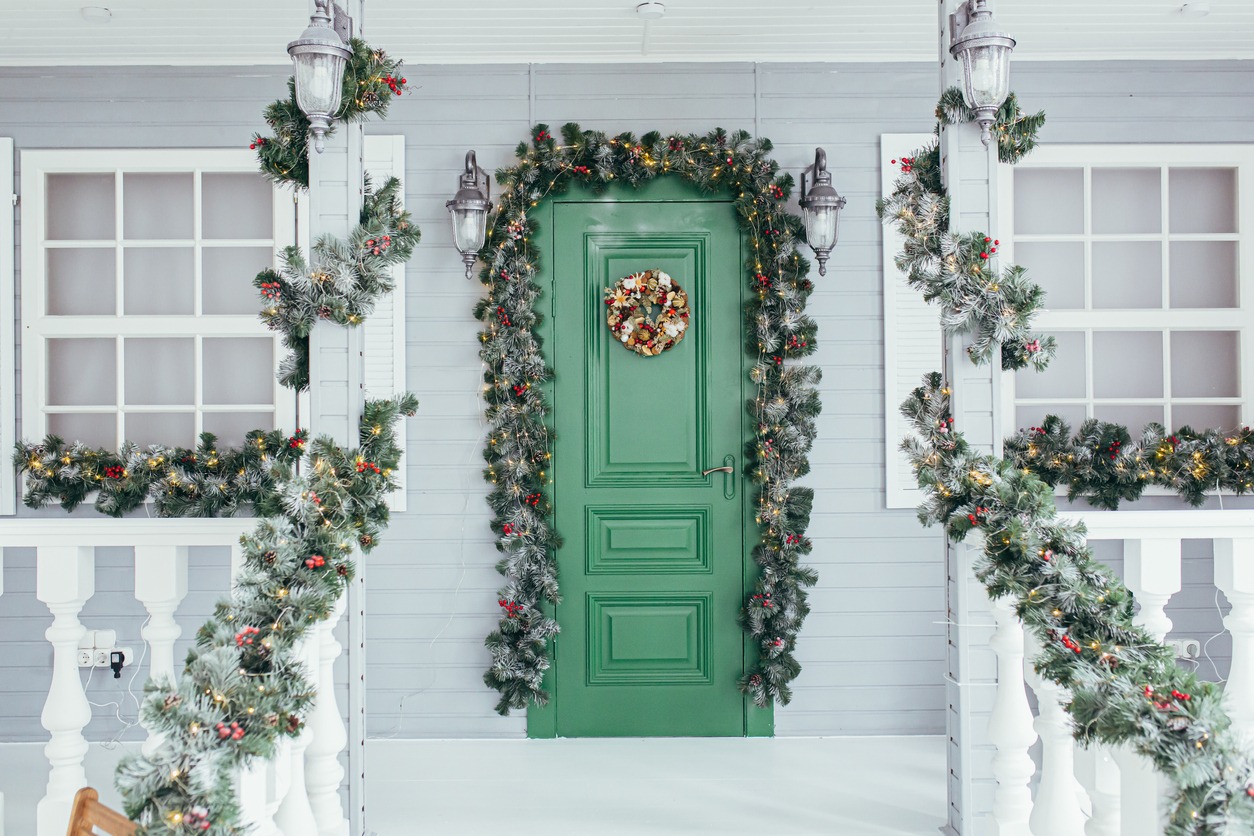
Christmas décor
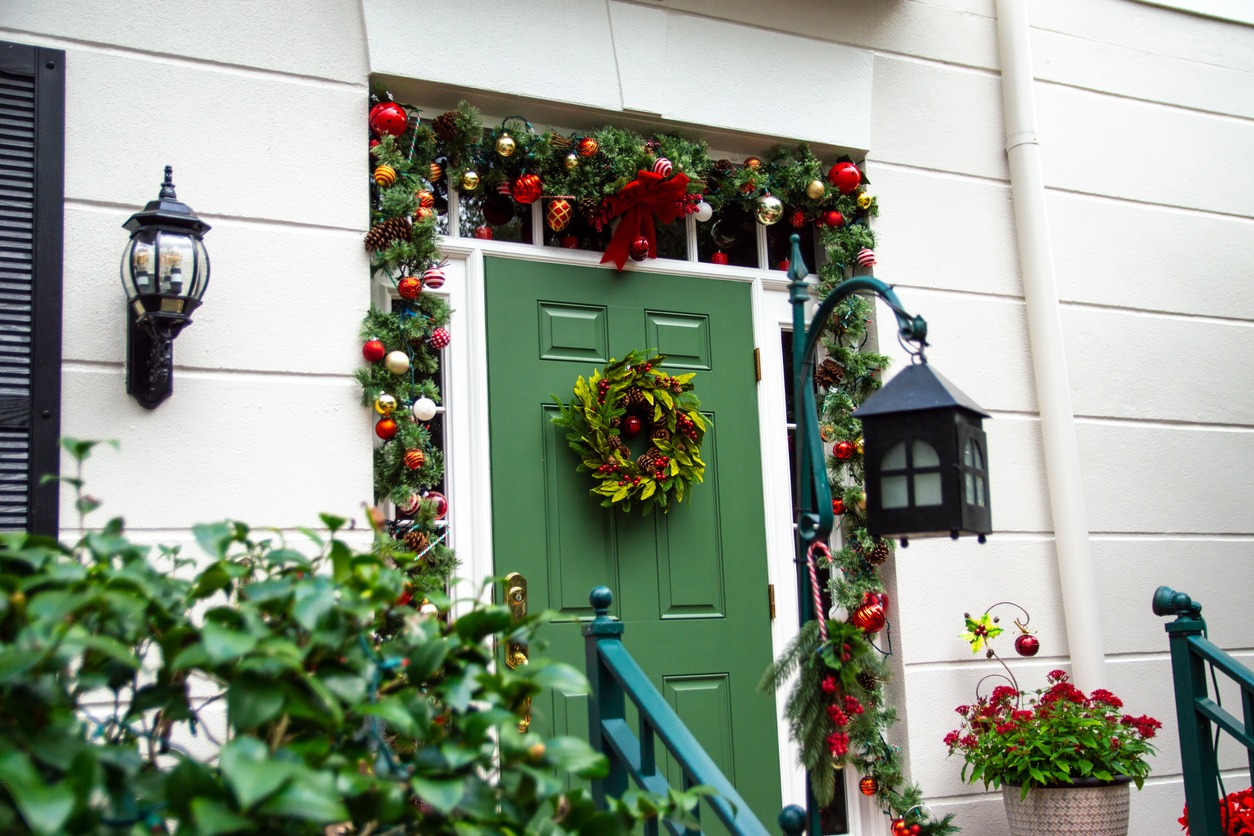
Christmas is the season when you put up a Christmas tree by the living room, garlands by the stairs and socks by the mantel. What kind of Christmas decorator forgets the front door? You can simply buy a Christmas wreath and decorate it with balls and Christmas-y flowers, or you can complete your ensemble for the season with one of these unique DIY ideas. Be sure to buy a Christmas wreath storage container so you can keep it protected all year long.
Mason jar lid Christmas tree wreath
Embrace this joyous season with a mini Christmas tree made up of mason jar lids and Christmas ball ornaments.
Materials:
- 10 mason jar canning lids with wide mouth
- Twine
- Christmas balls that fit to the mouth of the mason jar lids
- Evergreen and pinecones
- Hot glue and glue stick
Instructions:
- Tie two mason jar lids together with twine. Keep tying them together until you form a pyramid out of the lids. Have four lids tied together, then three on top of it, then two on top of it, and one on the topmost portion. This will serve as the Christmas tree.
- Get your Christmas balls and try to fit them inside the mason jar lids. The balls must fit exactly, so you can hot glue the stem of the balls to the mason jar lid rim. Once you’re done hot gluing, allow it to cool. With your ornament selection, you can go for different colors, or go for a monotone approach, with the balls varying in outer finish (i.e. matte, shiny, with glitters).
- Once you’re done with the Christmas tree, attach twine on the topmost lid to serve as hanger. Just below that hanging twine, wire on some pinecones and evergreens.
- Hang it up when you’re done.
Moss “Joy” monogram banner
Spread the joy in your neighborhood for the Christmas season by displaying these mossy “joy” letters after Thanksgiving.
Materials:
- “J” wooden letter
- “O” wooden letter
- “Y” wooden letter
- Forest green acrylic paint
- Moss sheets
- Burlap ribbon
- Foam paint brush
- Spray adhesive
- Command adhesive Velcro
- Small adhesive hooks
- Glue gun and glue sticks
- Small screw eyes
- Picture hanging wire
- Scissors
Instructions:
- Using foam paint brushes, paint a coat of the acrylic paint on the front and the back side of the letters. Let it dry fully.
- Lay the moss sheets in your work area with the mossy side facing down. Place the wooden letters front side down on the moss sheet. Carefully cut the moss sheet around each letter. Give about an inch allowance around the entire letter in order to cover the sides.
- Apply spray adhesive to the front of the wood letter, then place the wooden letter on the back of the moss cut-outs. Let the wooden letter stick to the back side of the moss.
- Clip the curves on the moss sheets by cutting a slit each place there is a curve. This way, you can fold up the excess moss sheets to the sides of the wood letter.
- Use hot glue to glue the side of the wooden letter to the excess moss. Cut away bits of the moss sheets that overlap.
- Once all sides are covered, use sharp scissors to trim the excess moss that overlaps the edge.
- On the back side of each letter, screw in two screw eyes about 3 inches apart. Attach the picture wire between them so you can hang the letter to the door.
- Plan where exactly would you place the letters on your door, considering the placement of the picture wires. Once you have decided on the perfect places, place the small adhesive hooks by the front door.
- Slip the tip of the command adhesive hook through the burlap ribbon. Let it lay down vertically, to serve as a guiding line and additional texture as well.
- Hang the letters on the hooks. Add command adhesive Velcro to the bottom back side of each letters that touch the burlap ribbon so the letters would stay in place.
Ornament door decoration
Looking for an easy Christmas fix for your front door? This simple ornament door decoration can give your sad front door a subtle yet glamorous holiday flair.
Materials:
- Gold Christmas ornaments
- Fishing line
- 4” gold ribbon
- 1” ivory ribbon
Instructions:
- String seven ornaments to the fishing line. Hold the ends of the fishing line slowly and bring them together to tie into a knot. The ornaments will naturally cluster up together.
- Secure the line with 3-4 knots more and cut the extra strings.
- Repeat steps 1-2 until you made three clusters with seven balls each.
- Using your 1” ribbon, tie them unto each of the clusters. Wrap it around one ornament and tie a knot.
- Stagger the pieces of ribbon and tie them into a knot. Make sure there’s one cluster with a longer ribbon, so the clusters can dangle together beautifully.
- Hang them on your door. Top it with a piece of bow made from your 4” gold ribbon. You can tape down the four corners of the bow to the door so it won’t move.