
A sudden boiler breakdown can be a real inconvenience, especially during the colder months. When your boiler stops working, acting quickly to restore heat and hot water to your home is essential. In this comprehensive guide, we’ll explore ten essential steps to take when your boiler goes on the fritz, including a crucial tip on resetting your boiler.
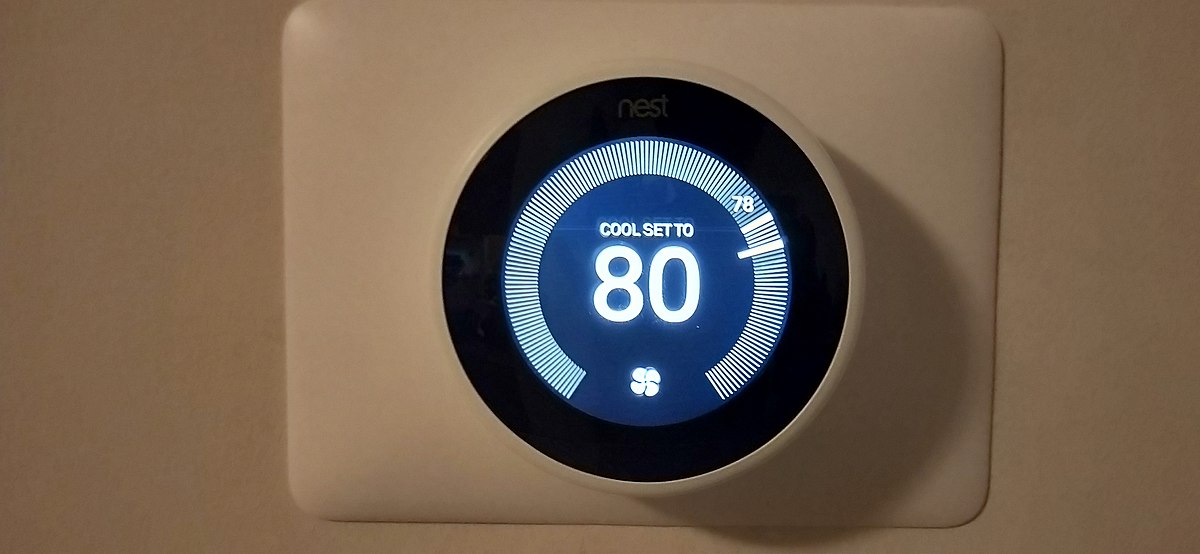
1. Check the Thermostat
Before diving into more complex troubleshooting, start with the basics – your thermostat. This little device plays a significant role in regulating your home’s temperature. Ensure that it’s set to the desired temperature and set it a few degrees higher than the current room temperature. Sometimes, the problem might be as simple as a thermostat issue.
If your thermostat is battery-operated, make sure the batteries aren’t dead. Replace them if needed. Also, check for loose or disconnected wires. If everything appears fine with the thermostat, move on to the next step.
2. Inspect the Power Supply
A common reason for a boiler malfunction is a power supply problem. Your boiler needs electricity to operate various components, and it won’t function correctly if it’s not getting power. Start by checking if the boiler is receiving power. Look for indicator lights or a display panel that should be illuminated when the boiler is on.
If you find that there’s no power, head to your circuit breaker or fuse box. Look for any tripped breakers or blown fuses related to the boiler. If you discover one, reset the breaker or replace the fuse. This simple piece of advice on how to reset your boiler could get your boiler up and running again.
3. Check the Pilot Light
If your boiler is an older model, it might use a pilot light. The pilot light is responsible for igniting the boiler’s main burner. If it’s out, your boiler won’t produce heat. To check and relight the pilot light, follow these steps:
- Locate the pilot light – it’s typically behind a small access panel on the front of the boiler.
- Turn the gas control knob to “off.”
- Wait a few minutes to allow any lingering gas to dissipate.
- Turn the gas control knob to “pilot” and press it down while using a long lighter or match to ignite the pilot light.
- Once the pilot light is lit, hold the gas control knob down for about 30 seconds to ensure the flame stays lit.
- After 30 seconds, release the knob and turn it to the “on” position.
If the pilot light keeps going out after relighting it, this may indicate a more significant issue, and you should consult a professional technician.
4. Examine the Pressure Gauge
Most modern boilers have a pressure gauge indicating the system’s pressure. The pressure should typically fall within a recommended range. Low pressure can lead to poor heating performance, while high pressure can damage system.
To check and adjust the pressure (if necessary), consult your boiler’s manual for specific instructions. It often involves opening or closing a valve to increase or decrease pressure. Always follow the manufacturer’s guidelines to avoid causing further issues.
5. Bleed Radiators
If you notice that some of your radiators aren’t heating up as expected, the issue might be trapped air in the system. Bleeding the radiators can release this trapped air, allowing hot water to flow freely and effectively heat your home.
Here’s how to bleed your radiators:
- Turn off your boiler and let it cool down.
- Locate the bleed valve on each radiator. This valve is typically located at the top, on one side.
- Place a container or towel underneath the valve to catch any water.
- Use a radiator key or a flat-blade screwdriver to open the valve. Turn it counterclockwise until you hear a hissing sound. This indicates that the trapped air is escaping.
- Keep the valve open until water starts to flow steadily without air bubbles.
- Close the valve by turning it clockwise.
Repeat this process for all the radiators in your home. Be cautious as the water can be hot, and always ensure the system is cool before starting the bleeding process. If you’re uncomfortable with this task, you can hire a professional to do it for you.
6. Inspect for Leaks
Leaks are a severe issue when it comes to boilers. They can cause significant damage to both your heating system and your property. If you suspect a leak, you must address it promptly.
Here’s how to inspect for leaks:
- Look around your boiler and the surrounding area for any visible signs of water. Puddles, dampness, or watermarks are clear indicators of a leak.
- Check the pipes, valves, and connections for any signs of moisture or corrosion.
- Inspect the pressure relief valve for any leaks or dripping.
If you discover a leak, do the following:
- Turn off the boiler to stop the water flow.
- Isolate the leaking area if possible, such as closing off a valve or shutting down a specific pipe.
- Contact a professional plumber or heating technician to diagnose and fix the leak.
Remember that dealing with water and heating systems can be dangerous, so it’s best to leave any significant repairs or leak investigations to the experts.
7. Reset the Boiler
Sometimes, resetting the boiler can resolve minor issues. This can be especially useful for modern boilers equipped with electronic controls.
Here’s how to reset your boiler:
- Turn off the power to the boiler using the power switch or circuit breaker.
- Wait for at least a minute to allow the system to power down fully.
- Turn the power back on.
This simple reset can often clear minor faults and reset the boiler’s control system. However, please consult your boiler’s manual for specific reset instructions, as the procedure may vary depending on the make and model.
8. Check for Error Codes
Many modern boilers have advanced control systems that can display error codes when there’s a problem. These error codes are designed to help diagnose issues quickly. To understand what an error code means and how to address it, consult your boiler’s manual. It will provide a list of error codes and instructions on resolving them.
Knowing the error code can help you pinpoint the issue and communicate it effectively with a technician.
9. Contact a Professional
If none of the above steps resolves the issue, it’s time to call in the experts. A qualified heating engineer or technician has the expertise and specialized tools to safely diagnose and fix more complex boiler problems. Attempting advanced repairs or adjustments without the necessary knowledge can lead to further damage or even safety hazards.
When contacting a professional, provide them with as much information as possible about the issue you’re experiencing. Mention any error codes displayed on your boiler and describe the symptoms in detail. This will help the technician arrive prepared to address the problem efficiently.
10. Consider Boiler Maintenance
Prevention is often the best cure when it comes to boiler issues. Regular boiler maintenance can help you avoid unexpected breakdowns and ensure your heating system runs smoothly throughout the year. Consider scheduling annual servicing with a qualified technician to keep your boiler in top shape.
During a maintenance appointment, the technician will inspect and clean various components, check for potential problems, and make necessary adjustments. This proactive approach can save you from the inconvenience and cost of emergency repairs.
Conclusion:
A malfunctioning boiler can disrupt your daily life, but with these ten essential steps, you can troubleshoot the problem and, in many cases, restore heat and hot water quickly. Remember, contacting a professional is always best if you need clarification or are uncomfortable with any of these steps.
And, as a bonus tip, remember to check your boiler’s manual for specific instructions on how to reset your boiler when necessary. Stay warm and comfortable in your home, even when your boiler decides to take a break!