
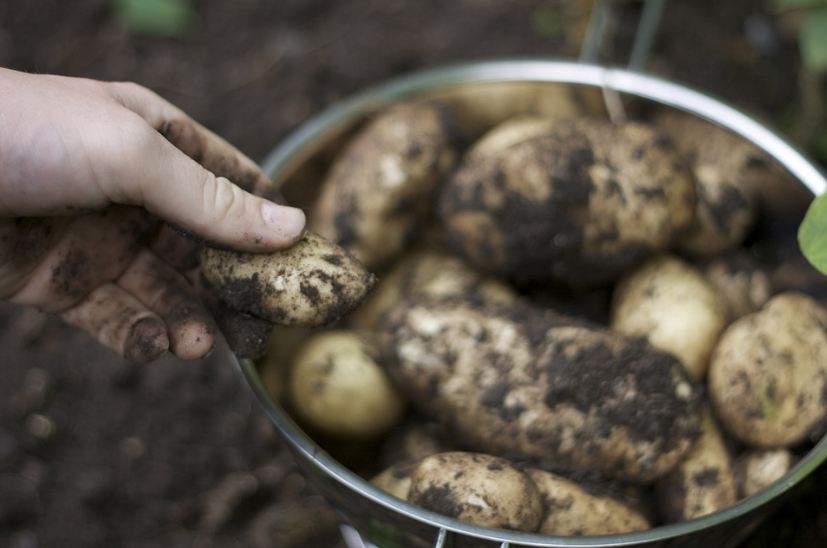
Freshly dug potatoes are a wonderful treat for the home gardener. However, it would help if you first sowed seed potatoes before harvesting potatoes. Growing seed potatoes is simple and inexpensive, but there are a few things you should know about seed potato planting to ensure success.
Choosing Seed Potatoes
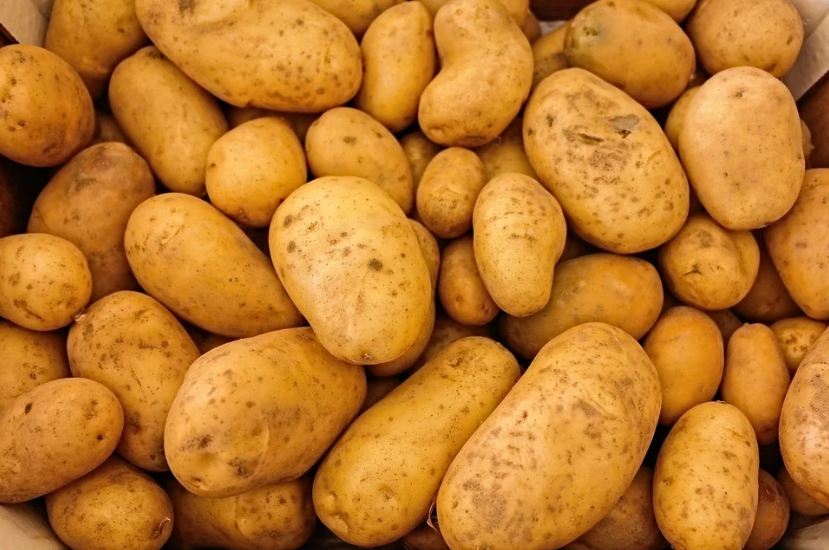
There are only around a half dozen different kinds of potatoes to choose from in the grocery store, but when you plant seed potatoes, you may select from over 100 different varieties. It’s wise to conduct some study into which potatoes grow best in your location and have the textures and flavors you prefer.
It matters where you buy your seed potatoes. While purchasing potatoes from the grocery shop and using them as seed potatoes may appear to be a smart idea, the potatoes at the grocery stores have been treated with chemicals to prevent sprouting and have not been checked for common seed potato illnesses. Seed potatoes should be purchased from a trustworthy seed potato provider. These businesses will sell disease-free seed potatoes, as well as seed potatoes that have been treated to help prevent fungus and rot.
Some gardeners save seed potatoes from year to year. This method should only be attempted at your own risk. Seed potatoes can sometimes carry soil-borne diseases, and if you can’t test your seed potatoes as seed companies can, your entire future harvest could be jeopardized.
So, for planting seed potatoes, check for fresh “certified” disease-free tubers at local garden centers or through specialty internet sites that often provide unusual types, and place your order early to ensure your selection is available.
Getting Ready to Plant
It’s ideal to start planting potatoes with seeds that are specifically designed for planting and nurturing potato plants. They must also be natural. Sure, the ones you buy at the supermarket may sprout and grow, but there’s no way of knowing if they’ll grow “true to form” or if they’ve been treated with some nasty chemical.
If late rains in your area will make digging challenging, prepare a bed that gets six to eight hours of direct sunlight every day or more. Incorporate a small amount of all-purpose or organic fertilizer, as well as enough compost to soften the soil.
Before planting, cut whole seed potatoes into pieces around the size of a big egg, each with one or two “eye” buds. To avoid rotting in cold, wet soils, lay them out to dry indoors for a day or two to allow the cut areas to heal if possible.
How to Cut Seed Potatoes
It is not required to cut seed potatoes before planting them. A home gardener’s decision on whether or not to clip them is a personal one. On the other hand, cutting your seed potatoes will allow you to stretch them a little further, allowing you to produce more potatoes plants; nevertheless, cutting seed potatoes raises the risk of disease and rot.
If you chose to chop your seed potatoes, make sure each piece has at least one eye (though more than one eye is okay as well) and is around an ounce in weight (28 g.). Allow the seed potatoes to cure for two to three days in a cool, damp environment. You can also use this opportunity to apply an anti-fungal powder to the cut seed potatoes. They should be planted after curing as soon as possible.
How to Plant Seed Potatoes
It is critical to plant seed potatoes at the appropriate time. Seed potatoes planted in too cold and moist soil may decay, whereas potatoes planted in too warm soil may not produce properly. It’s ideal for planting seed potatoes after the risk of heavy frost has passed, but while light frosts are still present.
If you’re worried that the weather in your location may become too hot or too cold too quickly, try chitting your seed potatoes to get a head start on the season.
Plant the seed potatoes approximately 24 inches (60 cm) apart and two to three inches (5-7.5 cm) deep. Any new growth above the soil line that sprouts may be killed by light frost, but don’t be alarmed. The potato plant will not be destroyed, and the potatoes will swiftly regenerate their foliage.
Harvest and Store Potatoes
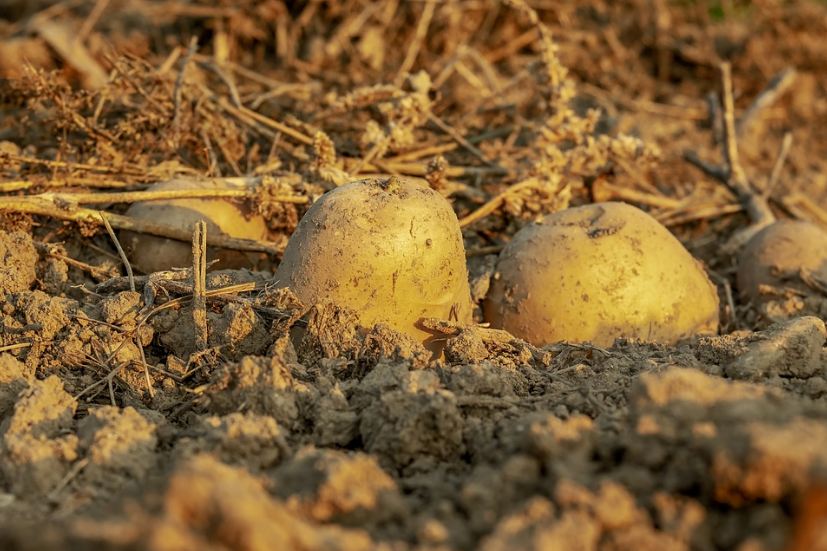
Small or “fresh” potatoes can be dug after three months, but huge tubers should be left alone until they turn yellow. If the season is long, you can cut down the plants after around four months and leave the tubers in the soil for a few days to harden their skin. After digging potatoes, please don’t wash them; instead, shake off any excess dirt.
Check for deterioration or shriveling every few days in any potatoes you don’t use right away that are stored in a cold, dark, dry area.
You may look forward to a successful potato harvest now that you know these simple guidelines for cutting and planting seed potatoes.