
Gardening is all fun, until you notice that your clippers and other gardening tools are nowhere to be found. Maybe you left it somewhere rusting, or perhaps one of your family members has stolen it from you, and you didn’t know about it yet. If you have ever felt this, then now you probably know the importance of keeping your garden tools safe and within reach.
And if you happen to have sewing skills, then it is about time to put it to good use and sew handy items or accessories so that you can create a home for your gardening tools. In this article, we will discuss the different items that you can sew and make use of in the garden, and more importantly, the step-by-step process of creating some of our must-have items. Let’s dive into it:
Garden bag
Before anything else, let us start with a tote bag—the perfect item for carrying seed packets, clippers, small shovel, and other gardening tools!
Sunhat
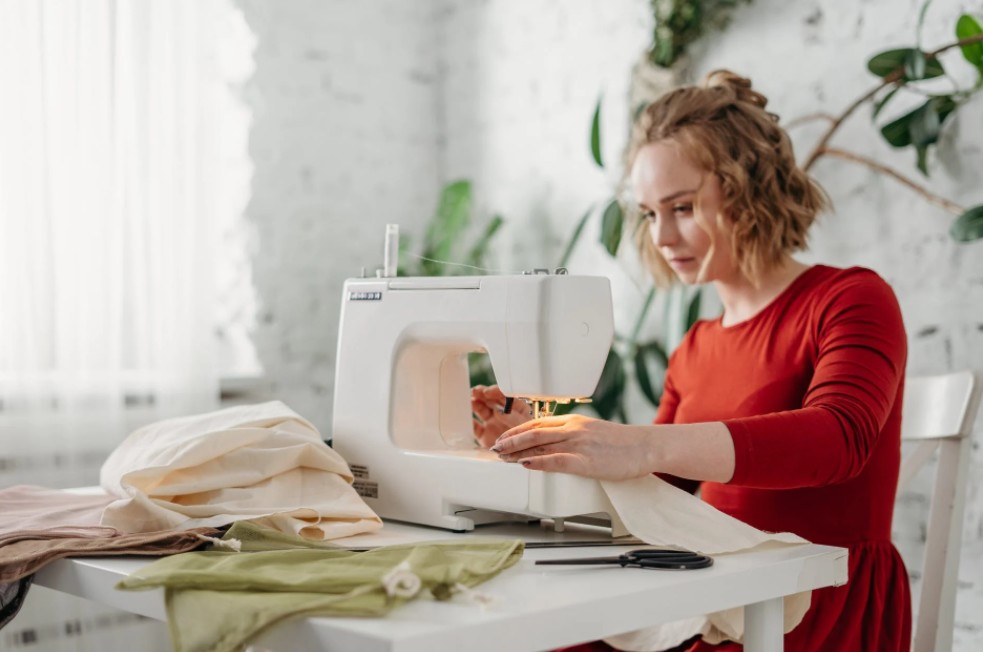
We all know the benefits of the sun for our health, as well as our plants. But it also brings harm to our health, especially if we are exposed to long hours! Here’s what you need and how to sew a reversible hat:
You will need the following:
- Iron
- Press cloth
- Ironing board
- Scissors
- Pins
- Sewing machine
- Pencil
- Half yard linen
- Half yard quilting cotton
- 2 and a half yard trip (ex. crocheted lace)
- Matching thread
- 3 yards of fusible midweight interfacing for cuffs and collars
Steps:
1. Pick your hat size on this page.
2. Assemble the patterns, since they’re full-sized pieces broken to fit pieces of paper. After that, trim the bottom and right edges of each page while lining up the outer rectangle lines and other markings of the pattern. Glue along the seams to create a one pattern piece.
3. Cut out the piece around the shape of the pattern.
4. Cut 2 pieces for the rim by placing the fabric beneath the fold, then proceed to cutting six triangle-shaped pieces for the cap. There is no existing grain line on the cap piece, so remember to place it on grain.
5. Pin everything together. Repeat by cutting six pieces for the cap’s interior lining. Make sure to place the pattern on grain when pinning the pieces to the fabric.
6. Sew the cap. Place two of the outer cap’s pieces together with the right sides facing each other. Pin one of the curved edges and sew with a seam allowance of 0.5 inch.
7. Press the seam allowance to the right. Since it’s a 3D piece, you can use a pressing ham beneath the curve. After that, topstitch the curved cap.
8. Place a third cap piece on the sewn cap pieces, making sure to keep the right sides together and pin along the edges. Repeat the process of sewing with 0.5 seam allowance.
9. Press and topstitch everything again. Repeat the steps until everything is sewn together.
10. Place the 2 sections of the cap together and pin along the topmost curve. Again, stitch with the same allowance. Press the seam allowance to one side, while your pressing ham is underneath.
11. Sew the cap linings carefully. Keep in mind the 1/8” seam allowance when topstitching the lining.
12. Sew the rims. Cut one rim piece from your woven fusible interfacing and fuse it with one of the rim pieces. When stitching curved seams, make sure to not stretch them out of place.
13. Join the pieces—the rim and the top cap. Sew around the circle at 0.5-inch seam allowance. Be careful not to make creases and pinches in the fabric on its underside.
14. Assemble the hat. Face the 2 hat groupings and pin around the edges of the rims. Ensure the caps fit inside each other. Sew around the rim.
15. Trip the seam allowance in half, and gently pull the entire hat out of the unsewn hole. Press the rim flat on two sides of the hat to ready it for topstitching.
16. Topstitch the rim. You can also create rows of topstitching for added style and security.
17. Hand stitch the hole left in the hat, press the rim, then you’re good to go!
Garden apron
You can also sew your own garden apron with a big pouch for your small gardening tools in the front.
Custom-sized garden clippers holder
If you have extra garden clippers that need home, you can do so by creating your own holder!
Garden belt
Another DIY idea is to create a garden belt. All you’ll need is an old belt that fits the wearer, edging fabric, and heavy cotton! Make big and small pouches out of the heavy cotton fabric and attach them to a belt, creating a fancy garden tool belt!