

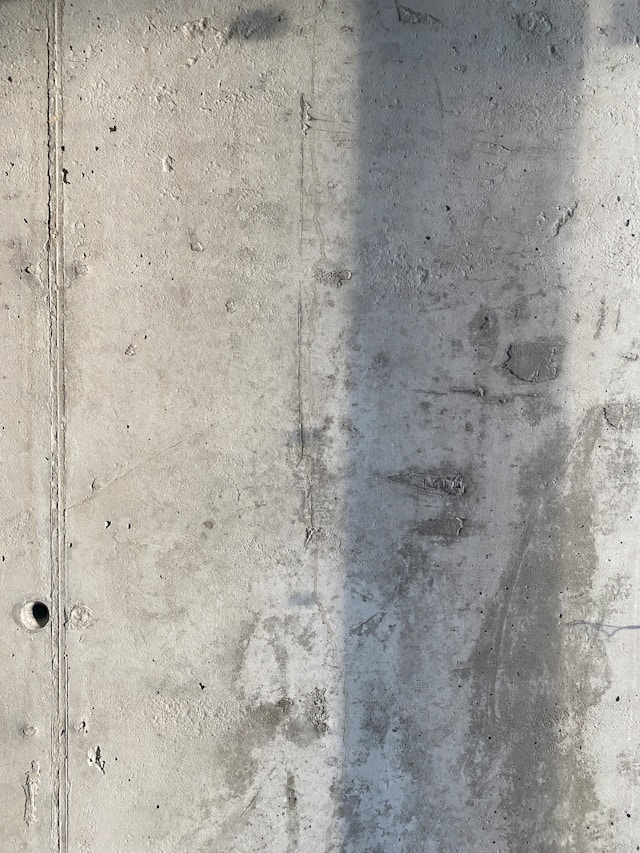
Painting concrete walls is a durable and effective way to enhance the appearance of a space. Unlike other surfaces, concrete presents unique challenges due to its porous nature and the potential presence of moisture. A well-executed paint job on concrete can not only improve aesthetic appeal but also offer protective benefits. Selecting the correct type of paint and preparing the surface properly are pivotal steps to ensure the longevity and quality of the finish.
Preparation is key when it comes to painting concrete walls. They first need to be thoroughly cleaned to remove any dirt, grease, or existing loose paint. Any damage, such as cracks or gouges, should be repaired with concrete filler to create a smooth surface for painting. It is also crucial to assess whether the concrete is sealed, as this will influence the type of primer and paint to be used. A good quality primer suited for concrete will help the paint adhere better and last longer.
The choice of paint is equally important; it must be formulated for concrete use to withstand the material’s natural expansion and contraction with temperature changes. Concrete paints are usually either latex-based, which offer easier cleanup and shorter drying times, or oil-based, which tend to be more durable but require more time to dry. Applying the paint in even, consistent coats will result in a professional-looking finish that can transform a dull and utilitarian concrete wall into an integral part of a room’s décor.
Preparation of Concrete Walls
Before painting concrete walls, thorough preparation is crucial for a long-lasting finish. One must clean and repair the surface, and apply a smooth base layer to ensure optimal paint adhesion.
Cleaning and Repairing
A clean surface is paramount. Begin by removing all dirt, dust, and debris from the concrete surface. A vacuum or a wire brush can be effective in cleaning off loose material. For stubborn stains, grease, or oil, using a solution of trisodium phosphate (TSP) or a specialized concrete cleaner can be beneficial. A power washer may be employed for outdoor preparations like a garage floor, while indoor surfaces may require less aggressive methods.
Inspect the concrete for any cracks or damage. Minor cracks and imperfections can be repaired with concrete filler or putty knife. Deeper damages may require a trowel to apply a masonry repair product. Allow all repairs to dry as recommended by the product’s instructions.
Surface Smoothing and Priming
After repairs, ensure the surface is smooth and even. A pole sander outfitted with sandpaper can smooth out rough spots and prepare the walls effectively. Use a dust mask for safety while sanding to prevent inhalation of fine particles. Once the surface is smoothed, it’s vital to apply a good quality concrete primer. The primer should be chosen based on whether the wall is interior or exterior, accounting for moisture exposure.
For efficient application, have a bucket and paint tray readily available for the primer. Using the appropriate tools, like rollers or brushes designed for masonry paint, will enhance the preparation and final result. Give the primer ample time to dry according to the manufacturer’s directions before considering the application of the topcoat paint.
Choosing the Right Materials
Before embarking on a painting project, it is essential to choose high-quality materials and safety equipment to ensure a professional finish and personal safety.
Selecting Paint and Tools
When painting concrete walls, the choice of paint is critical to both the appearance and longevity of the project. Concrete paints come in various types, with acrylic latex and epoxy being among the most durable and suitable for concrete surfaces.
- Acrylic Latex Paint: Offers excellent adhesion and a fast drying time.
- Epoxy Paint: Known for its durability, it is especially beneficial for floors due to its resistance to heavy foot traffic.
Masonry Paint: Another option designed for outdoor use, provides resistance to moisture and UV light.
It is imperative to apply a primer before painting to ensure better adhesion of paint to the concrete surface.
For application tools, one will need:
- Paint Rollers: A long-nap roller is best for even coverage on rough concrete.
- Paintbrushes: Essential for reaching into grout lines and tight spots.
- Caulk Gun: For applying sealant in cracks or gaps before painting.
It is also advisable to finish the project with a concrete sealer to protect the painted surface from wear and tear.
Safety Equipment
To safeguard oneself during the painting process, it is important to wear appropriate safety gear:
- Safety Glasses: Protects eyes from splashes and fumes.
- Rubber Gloves: Shields hands from paint and chemicals.
- Rags: Handy for cleaning up spills and splatters promptly.
Adhering to this guidance with the right materials and safety equipment ensures a safer, more efficient, and higher quality outcome for any concrete painting project.
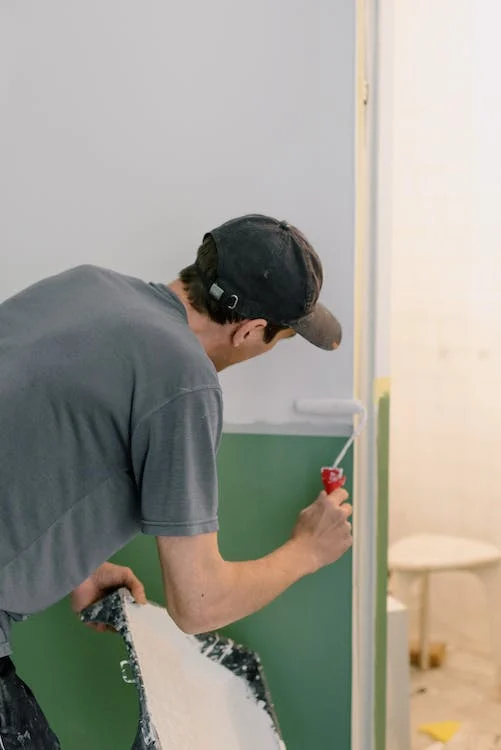
Painting Techniques

Proper painting techniques are crucial for a smooth and even finish on concrete walls. The methods employed can determine the durability and visual appeal of the painted surface.
Application Methods
Paint Rollers: For most concrete walls, paint rollers offer an efficient way to apply paint. They cover large areas quickly and work well for flat surfaces. A standard roller is suitable for smooth walls, whereas a texture roller is better for walls with a rough surface. When using a roller, one should start from the edges and work towards the center to maintain a wet edge and prevent lines or streaks.
Brushes: Brushes are necessary for cutting in at corners and edges where rollers may not reach. They are used to paint the tighter spaces and provide a more controlled application.
Sprayers: A paint sprayer can be used for an even and rapid application, especially on expansive wall areas. It’s important to evenly apply the paint to avoid drips. The technique requires a steady hand and a systematic approach to ensure complete coverage.
Achieving the Desired Finish
Consistent Paint Color: To achieve a uniform paint color, it’s critical to mix all the paint that will be required for a project in a large container. This process, known as boxing the paint, ensures color consistency throughout the application.
Preparing the Surface: Filling holes with a concrete filler and smoothing out the area is essential before painting to ensure a seamless finish. Concrete crack sealer can be used for this purpose, followed by necessary sanding once it’s dry.
Texture Effects: If texture is desired, one can utilize various rollers and brushes to create the effect. Specialty texture rollers can impart patterns onto the surface, giving it a unique look.
Using these techniques, a painter can effectively transform a concrete wall with the chosen paint color, ensuring both durability and aesthetic appeal.
Weather and Time Considerations
 When painting cement walls, weather plays a critical role in both the application process and the longevity of the paint job. Temperature and humidity affect the drying time and the durability of the coating. Therefore, one should plan the painting project during a weather window that provides optimal conditions.
Ideal Painting Conditions:
- Temperature: Aim for a steady temperature range between 50°F and 80°F.
- Humidity: A relative humidity below 85% is preferable for painting outdoors.
Paint applied during extreme temperatures or high humidity may not adhere properly and can take longer to dry, potentially compromising the paint’s durability.
Time Management Tips:
- Check weather forecasts in advance to select the right time for painting.
- Allow extra time if painting in cooler weather, as paint dries slower under such conditions.
- Ensure adequate ventilation for indoor painting to facilitate proper drying.
Drying Time Considerations:
- Paint requires time to cure. The first coat should be completely dry before applying a second.
- Humid or rainy conditions prolong drying time and could delay completion.
- Direct sunlight can speed up drying but may cause uneven drying or blistering.
Proper timing and weather considerations can lead to a more durable and aesthetically pleasing finish on cement walls. By respecting these variables, painters can avoid common pitfalls such as premature peeling or flaking of the paint layer.
Protection and Maintenance
Proper protection and maintenance of cement walls are crucial in extending their lifespan. These processes involve strategies to shield the structure from weather-related wear and techniques for mitigating water damage.
Weatherproofing Strategies
It is essential for the longevity of cement walls to employ weatherproofing measures. Key steps include:
- Selection of Appropriate Paint: A paint that is resistant to moisture and sun exposure should be used. Common choices include outdoor concrete paint and oil-based paints.
- Application of Waterproofing Sealant: After painting, applying a waterproof sealant can prevent water seepage and condensation issues.
- Regular Inspection of Walls: Checking for cracks and wear helps in identifying areas that need patching.
Dealing with Water Issues
Water issues, if not addressed, can severely compromise the integrity of cement walls:
- Effective Drainage: Ensure that gutters are functioning properly. Install new gutters or fix existing ones to direct water away from the foundation.
- Use of Dehumidifiers: For interior walls prone to moisture buildup, a dehumidifier can reduce condensation.
- Patching Vulnerable Areas: Filler should be used to repair any gouges or damage to prevent water ingress.
- Safety Considerations: When maintaining walls, one must always regard the safety of the structure and the individuals performing the maintenance.
By adhering to these practices, one can significantly mitigate the impact of weather and water on cement walls, preserving their condition and safety.
 Advanced Tips for DIY Painters
When tackling a DIY project like painting cement walls, skill refinement and ensuring longevity of the results are paramount. These advanced tips will enhance their technique and help them achieve long-lasting results.
Refining Your Technique
To improve their painting skills, DIY painters should focus on even application and maintaining a wet edge to avoid visible lines. They should:
- Use a high-quality roller with the appropriate nap size for concrete surfaces to ensure even coverage.
- Apply paint in a consistent ‘N’ or ‘M’ pattern, overlapping each pass slightly to avoid streaks.
- Maintain proper ventilation in the workspace to facilitate the drying process and reduce the risk of paint peeling from moisture.
Long-Lasting Results
For paint to adhere properly and last longer, several critical steps must be taken:
- Surface Preparation:
- Remove all dirt, grime, and loose paint with a power washer or wire brush.
- Patch any gouges or damage with concrete filler and let it cure fully.
- Moisture Check:
- Conduct a moisture test by taping a square of clear plastic to the wall; no condensation should form after 24 hours.
- Primer Application:
- Apply a concrete or masonry primer to help paint adhere to the surface and prevent peeling.
- Quality Paint:
- Choose a paint specifically designed for outdoor use on concrete to resist moisture and sunlight damage.
- Consider an oil-based paint for durability and ease of cleaning.
By paying attention to these considerations, DIY painters not only refine their technique but also ensure that their painted cement walls withstand the test of time.
Troubleshooting Common Problems
Peeling Paint: Painting a cement wall before it has fully cured can lead to peeling. The trapped moisture in uncured cement tries to escape, causing paint to lose adhesion. To fix peeling paint:
- Scrape away the flaking layers.
- Allow the wall to dry out fully.
- Apply a primer before repainting.
Cracks in Cement: Cracks can occur due to settling or shifting of the structure. Applying hydraulic cement—a fast-setting substance—can effectively seal these fissures.
Persistent Stains: Cement walls can develop stains over time. To tackle this:
- Clean the area with a dedicated concrete cleaner.
- Rinse thoroughly.
- For stubborn stains, consider using a stronger cleaning agent or a pressure washer.
Efflorescence: The appearance of a white powdery substance on walls indicates efflorescence, caused by water bringing salts to the surface. Combat this by:
- Brushing off the efflorescence.
- Sealing the cement with a waterproofing paint to prevent further moisture penetration.
Pore and Wear Visibility: Over time, the pores in cement and signs of wear can become prominent.
- Fill larger pores or uneven areas with a cement-based filler.
- Sand the surface to achieve a smooth finish before painting.
 Cold Weather Painting: Cement walls should not be painted in cold or damp conditions, as it will affect paint adhesion and drying time. Optimal conditions for painting are a clean, dry wall and mild temperature.
When troubleshooting common problems with cement walls, it is key to first identify the source and extent of the issue, then proceed with the proper preparation and repair techniques to ensure a long-lasting finish.