
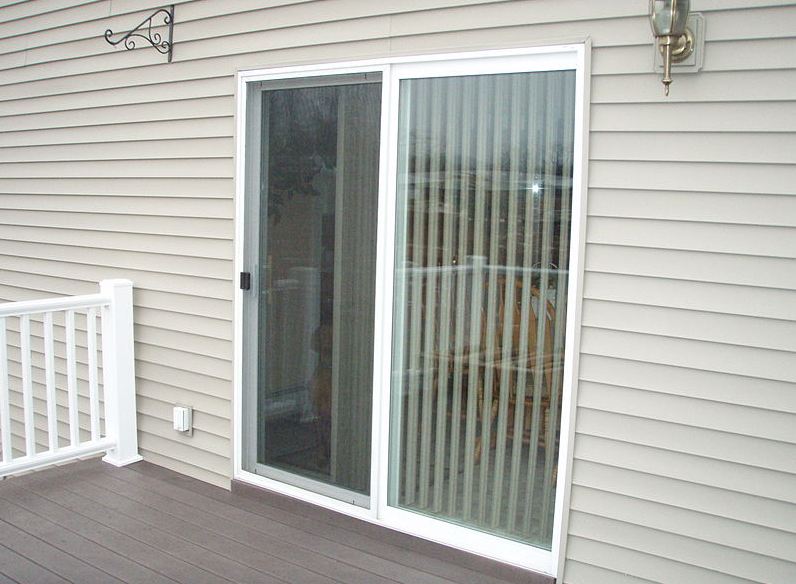
Generally, patio doors are used for beautification and natural lights for your home. But after a year of use, your patio door can be sticky, and you can find difficulties opening the door. When the door track becomes dirty, the door gets sticky, and it becomes hard to open.
Not only the dirt track or broken door rollers, but there can also be other problems. When you find that your door is not working normally, you need to repair it. You can hire a professional locksmith to repair it (i.e., Porte blindée). You can also do it by yourself if you know how to do it.
So in this writing, you will learn a step-by-step process on how to repair the patio door. Keep reading the entire article!
Patio Door Repair Guide [Beginners Guide]
There are some professional tools or equipment that you will be required to repair your door. You also need some material like replacement rollers, silicone lubricant in this process.
If you hire a professional, they should have these tools by default. Those tools that you need for this process include:
- Different sizes screwdriver
- Hammer
- Woodblock
- Pliers
- Wrench
- Corded drill
- Utility knife
- Silicone lubricant
Step-1 Unscrew the door:
The very first thing you need to do is, you need to put off all the screws of the door. You can use a piece of paper to collect those screws for further use. Usually, the screws are located underneath the door frame. You will find them on the side corner of the door.
Then, you can use a screwdriver to put off the screws. Hold the screwdriver parallelly, then turn it counterclockwise. Then the screws should be coming out from the frame.
Step-2 Remove the top part of the door frame:
For this step, you need a set of sawhorses. Then you need to put off the frame grilles to remove the head stop. Make sure that the door is fully open before starting this step. After that, you have to put off the screws located in the top middle of the door frame.
It is very important to remember that if you leave your door in the middle of the process. Because when your door is unattached or unscrewed from the frame. Then the door can fall apart, and as a result, it can damage the door frame.
Step-3 Remove the Bottom part of the door frame:
In the next step, if you want to remove the bottom track from the door frame. You need to make sure that you are inside the door. Then lean the door a little bit upward. After that try to lift it off from the door frame. When the screws are unhooked, the bottom track should become out from the frame.
If you feel that your door is heavy enough to lift it, then you can ask someone to help you. Sometimes, due to instability, the door can be broken or damaged.
Step-4 Check the roller and clean it:
Use a small screwdriver to remove the roller. Gently push inside with the help of a screwdriver, then the roller should become out. If you find the roller is stuck for dirt or hair, try to clean it with a brush. If the roller is broken or bent, then replace it with a new roller.
In order to clean the roller, you can use alcohol with a rag. If you have silicone spray, use it by spraying the roller’s wheels when you readjust the wheels. You have to very careful.
In order to protect the roller’s wheels, you can also try a woodblock. Once you readjusted, try to retract them as far as you can.
Step-5 Remove all the dirt from the door track:
After cleaning the roller, you need to clean the door track. This is basically the base of the door frame. First of all, start from wiping the head of the track to the end with alcohol help. You can also lubricant the track by using silicone spray. Try to rub it a few times with wax.
Step- 6 Replace the Damaged Weather-stripping:
Sometimes, it is very important to replace damaged weather stripping. When you find the weather stripping of your door is damaged, you need to change it. In order to replace, you need to loosen the staples with the help of a screwdriver. Try to push softly with a screwdriver and remove the staples.
If you find there are any staples left, then try to remove them with pliers. The door’s stripes are usually glued on. So there is some chance to get damaged the staple. That is why you should carefully pull them off with a knife or pliers.
Step-7 Repair the screen:
Sometimes, you will find the screen of your door is really weak and wrinkled. If that is the case, then try to remove the old one and replace it with a new one. Firstly, you have to lay the frame on the parallel ground. After that, reinstall a new screen with a rubber spine so that it overlaps the frame.
Make sure that the screen is straight enough that it is stable in its place. Then make the to attach the screen side to the door frame.
Step-8 Set up the new door:
When you are done with all the steps mentioned above, you need to reinstall the door in the final step. If you cannot set up the door properly, then the whole process would be valueless. So it is so important to reinstall the door correctly. Start from the bottom of the door.
Lift the door and try to set it up into the bottom track. Hold your door gently with your body and try to reattach it in the frame. Then set the roller of the door.
Put all the screws in place and tighten them. When you are done, test it by doing it back and forth. When everything works properly, you are good to go.
The bottom line:
If you have a patio door in your home or any other residence, you may need to repair that once in a couple of years. Sometimes, repairing is voluntary, and sometimes, if any damages occur, repair becomes so necessary. If you know how to repair your patio door, you can do it yourself with the necessary tools and equipment.
But it is always better to hire a professional to reinstall or repair your door. Because without a professional, there are some chances to get damaged or broken. You can find professionals to repair your door online (i.e., Meilleur Serrurier d’urgence en Belgique). Hopefully, by following the above steps, you can now repair your patio door.