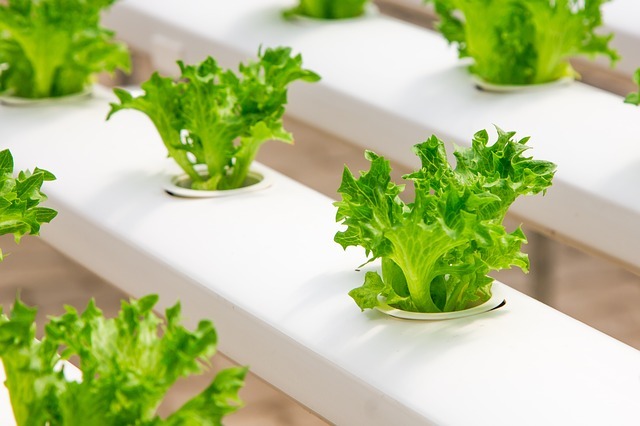
Hydroponic setups are surprisingly easy to create and can give you year-round healthy homegrown vegetables.
The name means ‘working water’ in Latin and simply means growing plants without using soil.
The plants’ nutrition does not actually come from what they are planted in, which can be anything from gravel to coconut fiber and many other substances. The nutrients come from a solution delivered at regular intervals to the roots each day through various delivery systems depending on the individual hydroponic setups involved. These flowing nutrient solutions ensure the plants absorb all they need for healthy growth and greater yield.
It’s not rocket science.
You can grow a pot plant in a hydroponic medium and water it with a nutrient with a normal watering pot. All it really means is that instead of growing the plant in the earth, you grow it in an ‘inert’ medium and you provide it with everything it needs to flourish via the water you pour onto it. This method is used in places where the soil has been exhausted by over-farming, or the climate does not usually permit certain crops. It was used in ancient Egypt and in India, so it is not a new discovery.
Basic setups include:
- The reservoir:
The storage container that holds the water/nutrient mix. They can be barrels, large buckets or storage boxes. - Air Pump:
These should be fitted above the reservoir, to oxygenate the water, or the roots will use it all up and begin to die. They are important but cheap, usually using about 10 watts of electricity. - Air Stone:
These turn the air from the air pump into bubbles and help with absorbing the air into the water. - Water Pump:
This is needed for the nutrient feeding and can be small, all the way up to sump pumps. - Growing Medium:
You can use gravel, wash it with a weak bleach solution and rinse thoroughly. Other growing mediums include pebbles, sand, rounded river rocks, rock wool, and coconut fibers. If it supports the plants and won’t rot or leach chemicals it can be used as a growing medium. - Net pots:
Little plastic pots with a lot of holes in the base to allow roots to grow into the water. You can buy them, but equally, use any old plastic container from margarine pots to ice-cream tubs and save yourself money. - PH and nutrient meters:
It is vital to keep the PH and nutrient levels stable. There are many types for any budget, but all will do a similar job, so decide what you can afford.
You won’t be growing triffids
The nutrients used to feed your plants are natural ones, that the plants absorb from the earth when grown in soil. The nutrients are what they require to flourish rather than the soil itself. Often the plants may grow larger and healthier, but this is because they are receiving all the nutrients they need. Some soils lack them, but the premixed nutrients contain everything. You, as the gardener, dissolve them in water and feed the plant roots directly. The growth rate tends to be 30-50% faster than conventionally grown plants because the absorption rate is faster, but don’t worry, you will never walk into your greenhouse or garden and get mugged my a mutant cabbage.
Good for the environment.
This system uses far less water than soil gardening because the nutrient solutions are reusable. The plants are healthier so bug infestations and disease are less problematic. There is no soil erosion, and no run-off of fertilizer into the soil, and eventually into streams, rivers, and lakes.
You don’t have to be an engineering wizard.
There are several different Hydroponic setups, from basic (called deep water culture) to advanced (aeroponics) and it is possible to do it yourself if you have a knack for such things and enjoy it.
Other people may prefer to look online for a cheap ‘start-up’ system and learn the basics before moving on, and still, others will both buy and make DIY hydroponic setups.
The nutrients must be bought from a hydroponics store as the premixed liquid or powder is vital.
Hydroponic trays can be bought, but they’re not that hard to make and will cost a lot less. They should be rectangular, and you will need 2×4’s, plywood, strong plastic rubbish bags, nails, glue, and caulking.
The 2×4’s are your frame, the plywood is the base (firmly nailed). The supports will also be 2×4’s, and go across the short dimension of the tray, and must be screwed through the plywood into the frame about every 18 inches. Now you have to add a good sealant to make it waterproof, allow it to dry for an hour or more, and while that is happening, cut your strong plastic bags into sheets. These sheets must be glued to the tray, sheet after sheet (six or seven) with lots of overlap to make a waterproof membrane.
Have a go!
If you want to try your hand at one or more hydroponic setups, you may well find it easier to do than you thought it would be, and also a lot of fun. It is a natural way of growing plants, just a different way, that’s organic, healthy and good for the environment.
Be sure to see the article on Hydroponic Growing where there is a video of how to build a Hydroponic system at home.

