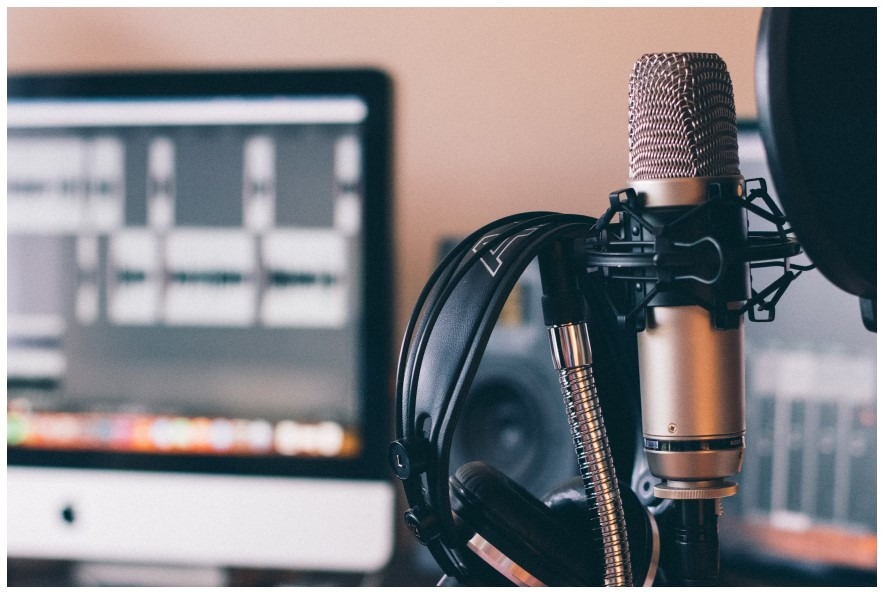
If folks are passionate about recording their music the way they want, the first thing to do is create the perfect recording booth. It needs to be soundproofed and equipped with the right tools to help record crystal clear sound every time. Internal and external soundproofing is essential to create a suitable atmosphere and a peaceful recording experience.
You can choose to build your soundproof recording booth by converting a corner or a small living space with acoustic blankets and soundproof panels in addition to a vocal booth. The idea is to build enough shields to prevent extra resonance and reverberations while singing. Additionally, if you are transforming your living space, the priority should be to eliminate external and internal sounds as much as possible. Here are some practical ways to soundproof your newly made recording studio.
Add Some Mass
Adding mass means adding material that can provide proper insulation to the room. It includes wood paneling, fiberglass tiles, and also dense foam. Adding mass means making a thicker barrier that will absorb random sound waves as much as possible. One way to achieve that is by building a thicker wall or using a partition in your specific space.
Fellows can build a sheet wall and drywall to provide adequate isolation and insulation. Wall padding is the next option they should consider. Different brands of wood paneling offer additional layers of insulation in the room. Soundproof blankets and PVC pipes will also work well to add more mass to the walls.
Paneling them and sealing the opening sit air-tightly can make a huge difference. Wall padding is done with acoustic foam, which envelops all the surfaces that can cause the sound to bounce off. Panels made of fiberglass core are also very effective in blocking out excess noise and absorbing all the sound produced inside the studio.
Noise Damping
One can use noise mapping tactics even with thick walls and proper insulation with panels. Damping is essential because some residual vibrations can cause disturbance in the audio quality for recording. Everything needs to be sealed shut so that the openings are airtight and one can easily use the space one has for perfect acoustic quality. The walk-in closet is the prime location for noise dampening and can be made effective using egg cartons and blankets.
You can make use of acoustic glue in order to keep everything in place. Acoustic sealant can seal any small cracks effectively to give the perfect auditory experience when setting up instruments and with voice recording. You can use isolation pads in different locations to create a thicker barrier.
Decoupling
When you build your soundproof recording booth, you can choose to decouple the surfaces and equipment. Decoupling helps by eliminating the sounds that can cause unnecessary vibrations.
You can use a portable booth box and an extra room and position them to absorb maximum reverberations.
Air Gaps
Air gaps help trap the excess vibrations by creating a secondary wall that helps absorb the extra vibrations. The air gap cannot only be made between the walls but also on the floor to achieve the maximum decoupling effect. You can also choose to fill the air gaps with foam gaskets. A secluded corner in the house is perfect as long as it is away from ventilation ducts and the furnace. You can also use a reflection filter and a mattress shield.
The Takeaway
A soundproof recording studio must be perfectly silent and have minimum vibrations. When any sound is produced, it should get absorbed immediately rather than bouncing around the room. It would be helpful if you removed all of the echoes and reverberations. Also, ensure that the room’s thickness is monitored while constructing the studio.

