
There are a number of things that might cause a leak in your roof, but one of the most common ones is shingles. If you’re trying to perform a roof leak repair yourself, you have to understand the problems that can occur with shingles but keep in mind that any serious repair should be done by a roofing contractor.
Shingles
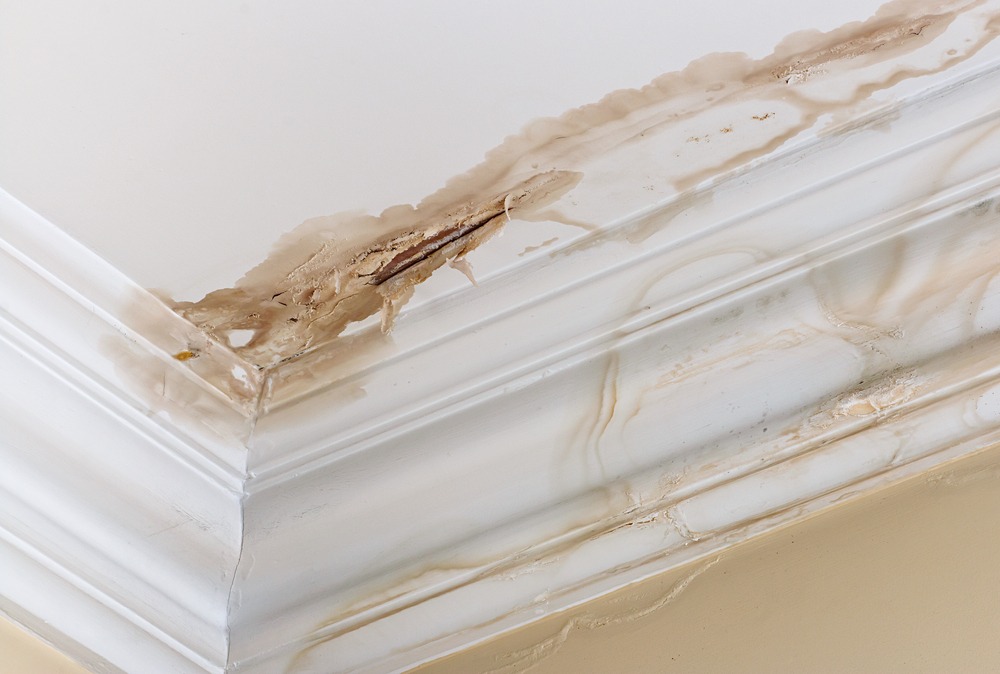
Before you get on your roof with the right equipment, you need to figure out where the leak is coming from. The obvious way is if water is dripping inside, but it’s not always that simple. When that happens, you have 2 choices.
You can manufacture rain with a water hose or look for water damage inside your home or attic. It’s important to understand that, if your house has a slanted roof, the leak is actually above where the water damage is.
There are 3 possible problems with your shingles: They’re curling up, cracking, or completely destroyed. The latter is just as bad as if they’ve fallen off, because either way you’ll have to replace them.
Curling
If your shingles are curled, you might have to use a blow dryer to heat them up until they can be flattened. Once you can do this, use roof sealant to hold down the corners and add roof cement to the edges of the shingles in question.
Cracked
When a single crack is involved, you don’t need to replace the shingle. Instead, just apply roof sealant with a caulking gun to the underside and top of the crack and spread the sealant over the crack.
If you’re concerned about the aesthetics matching, you can sprinkle loose asphalt in the sealant. Unfortunately, if your shingle has more cracks or is missing pieces you’ll need to replace it to protect your roof.
Replacing Your Shingles
For widespread roof damage you might want to contact a roofing company, but you can replace a few bad or missing shingles yourself in just a few steps.
- The first thing you need to do is pry up the shingle above the one you need to replace. This is because of the way shingles are aligned, so the one above will give you access to the nails you need to remove underneath.
- Use the claw-side of a hammer to take out the nail at each corner of the broken shingle. It’s important to remember to slide the shingle down and out instead of pulling it up.
- Scrape away any roofing cement so that your new shingle will lay flush against your roof.
- Slide a fresh shingle underneath the one you’ve pried up. You’ll want to use roofing nails that are at least 1” to 1½” in each corner of the new shingle.
- Use roofing cement around the edges of the shingle to hold it in place. Remember to also put some over the nail heads.
- Don’t forget to check the above shingle when you put it back down. If any nails came up or it’s loose, use roofing nails or cement to secure it back in place.