How to Repair Cracks in a Mirror
A cracked mirror is more than just an eyesore. It disrupts the reflection you rely on and can even become a safety hazard over time.
Repairing a mirror might seem challenging, but with the right tools and techniques, you can restore its appearance without replacing it entirely. Continue reading as we guide you through practical steps to fix common mirror cracks and extend the life of your mirror.
Types of Mirror Cracks
Not all mirror cracks are the same. Understanding the type of crack helps determine the best way to fix it. Here are the common types of mirror cracks and what they mean for repair.
Hairline Cracks
These are thin cracks that barely break the surface of the mirror. They often occur due to minor impacts or sudden temperature changes. While they may seem harmless at first, they can grow over time if not addressed.
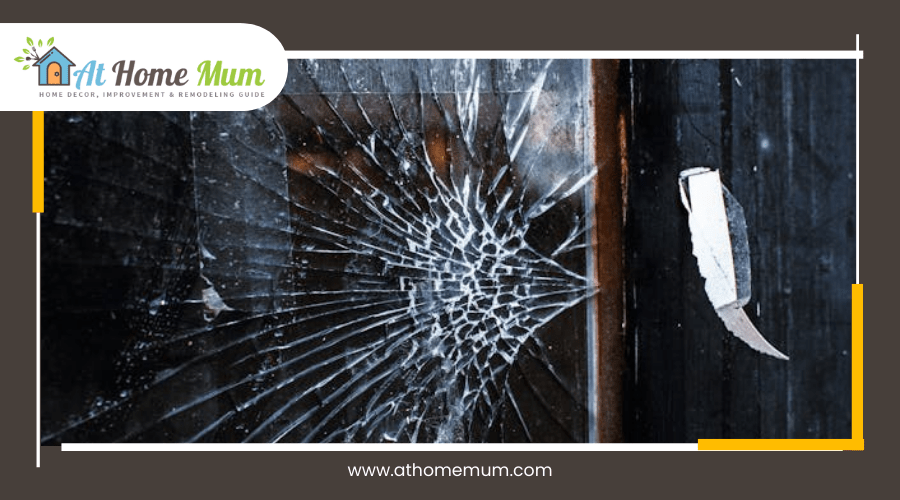
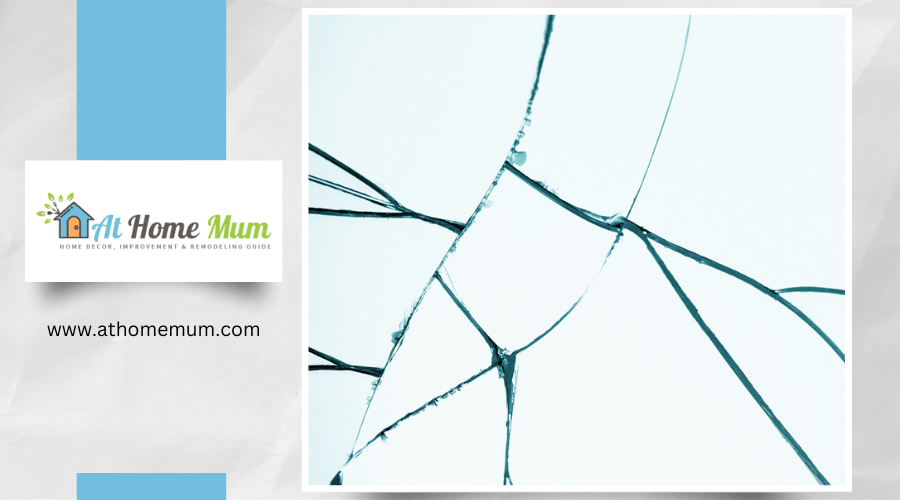
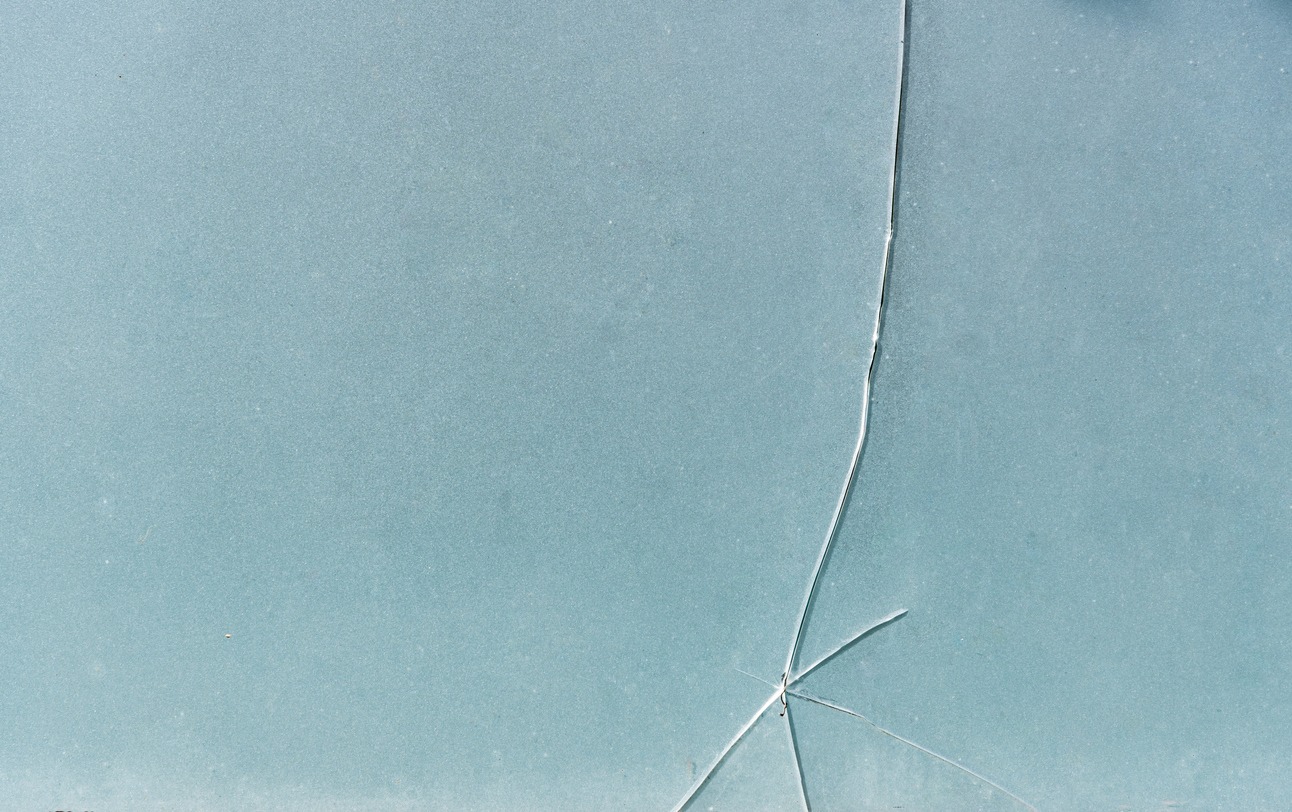
Spiderweb Cracks
Spiderweb cracks spread out from a central point, resembling the web of a spider. They usually result from a strong impact. Repairing these cracks is challenging due to their branching nature, and replacement is often recommended.
Edge Chips
Edge chips happen when the sides of the mirror are hit or mishandled. Though they don’t always affect the reflective surface, they weaken the structure and can expand into larger cracks if left unattended.
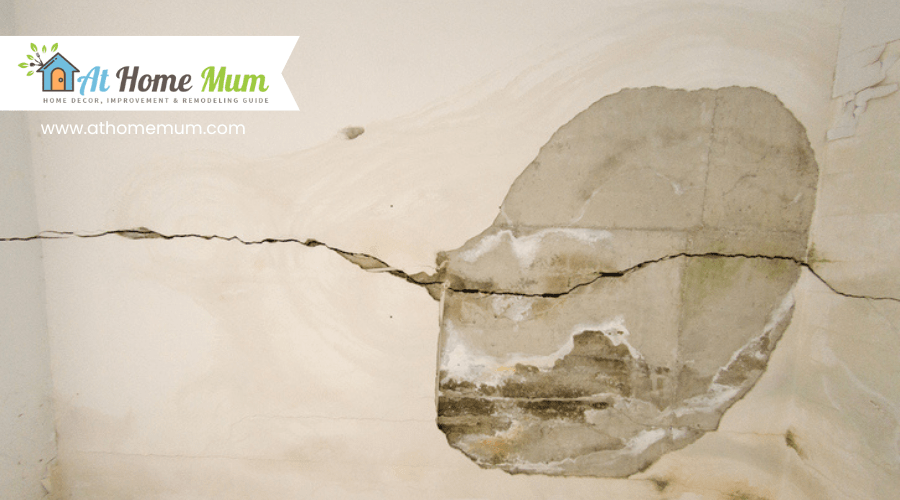
Stress Cracks
Stress cracks form without any direct impact. They are caused by temperature fluctuations, improper installation, or structural pressure. These cracks may start small but can expand quickly under continued stress.
Assessing the Severity of the Damage
Before deciding how to repair a cracked mirror, it’s important to assess the severity of the damage. This helps determine if a DIY fix is possible or if professional repair or replacement is needed. Here are the key factors to consider.
Size of the Crack
The length and width of the crack play a major role in deciding the repair method. Small cracks under a few inches long are usually manageable with simple fixes like epoxy resin or adhesive kits. Larger cracks covering a wider area may require advanced techniques or even replacement.
Even if a crack looks minor, it can grow due to temperature changes or vibrations. Inspect the entire surface to spot hidden fractures. The earlier you address the damage, the better the chances of preventing further issues.
Location of the Crack
The position of the crack affects both the appearance and the repair process. Cracks near the edges of the mirror are often easier to fix because they don’t interfere much with the main reflective surface. Central cracks, however, are harder to hide and may require more precise repairs.
In some cases, edge cracks can weaken the mirror’s structure, especially if they are near mounting points. Consider the mirror’s installation area and how visible the crack will be after repair. This helps decide if replacement might be a better option.
Depth of the Crack
Superficial cracks that only affect the top layer of the mirror are easier to repair. These usually occur due to minor impacts or stress from temperature changes. Epoxy resin can fill shallow cracks effectively, restoring the mirror's appearance.
Deep cracks penetrating through multiple layers are more complicated. They compromise the mirror’s strength and reflectivity. If the crack has caused the reflective backing to peel or flake, replacement may be the safest and most practical choice.
Mirror Type and Use
Different mirrors serve different purposes, affecting how urgent repairs might be. Decorative mirrors used for aesthetic purposes can sometimes handle minor damage without needing full repairs. However, functional mirrors in bathrooms or dressing areas must be fully intact to work properly.
Consider how often the mirror is used and its placement in your home. High-traffic areas are more prone to additional damage if repairs are delayed. This helps in deciding whether a temporary fix or a long-term solution is needed.
DIY Repair Methods
Fixing a cracked mirror at home is possible with the right tools and techniques. Several methods work depending on the type and severity of the damage. Check out these effective DIY repair options to try.
Epoxy Resin Repair
Epoxy resin is a strong adhesive that works well for filling cracks in mirrors. It dries clear, making the repaired area less noticeable. Start by cleaning the cracked area with rubbing alcohol to remove dust and grease. This helps the resin bond better to the glass.
Mix the epoxy resin according to the instructions on the packaging. Use a small applicator like a toothpick or fine brush to apply the resin to the crack. Work carefully to avoid air bubbles, as these can affect the final result. Let the resin cure fully, which may take several hours or overnight.
Once the resin has dried, scrape away any excess using a razor blade held at a slight angle. This creates a flush surface. Finish by polishing the repaired area with glass cleaner or a mild abrasive like baking soda to restore the mirror’s shine.
Clear Nail Polish Application
Clear nail polish is a simple and inexpensive way to fix small cracks or chips in a mirror. It acts as a filler and creates a protective layer over the damaged area. Clean the mirror thoroughly with a soft cloth and rubbing alcohol before starting.
Apply a thin layer of clear nail polish over the crack, making sure to cover the entire damaged section. Allow the polish to dry completely before adding additional coats. Multiple layers create a thicker seal and improve the overall look of the repair.
Use a razor blade to gently scrape away any excess nail polish once it has dried. Be careful not to scratch the surrounding glass. Finish by wiping the mirror with a clean, damp cloth to remove any leftover residue and improve clarity.
Mirror Repair Kit
A mirror repair kit is designed specifically for glass cracks. It typically includes adhesive resin, a curing film, and an applicator. Start by reading the instructions carefully to understand the application process. Each kit may have slightly different steps.
Begin by cleaning the cracked area with a glass cleaner and a lint-free cloth. Place the applicator provided in the kit over the crack, ensuring it is centered and secure. Inject the adhesive resin through the applicator as directed. Spread the resin evenly across the crack using the tool provided.
Cover the repair area with the curing film, pressing down to remove air bubbles. Let the resin cure under direct sunlight or a UV lamp for the recommended time. Once it’s fully set, remove the film and clean the surface with a glass cleaner to restore the mirror’s clarity.
Professional Repair or Replacement
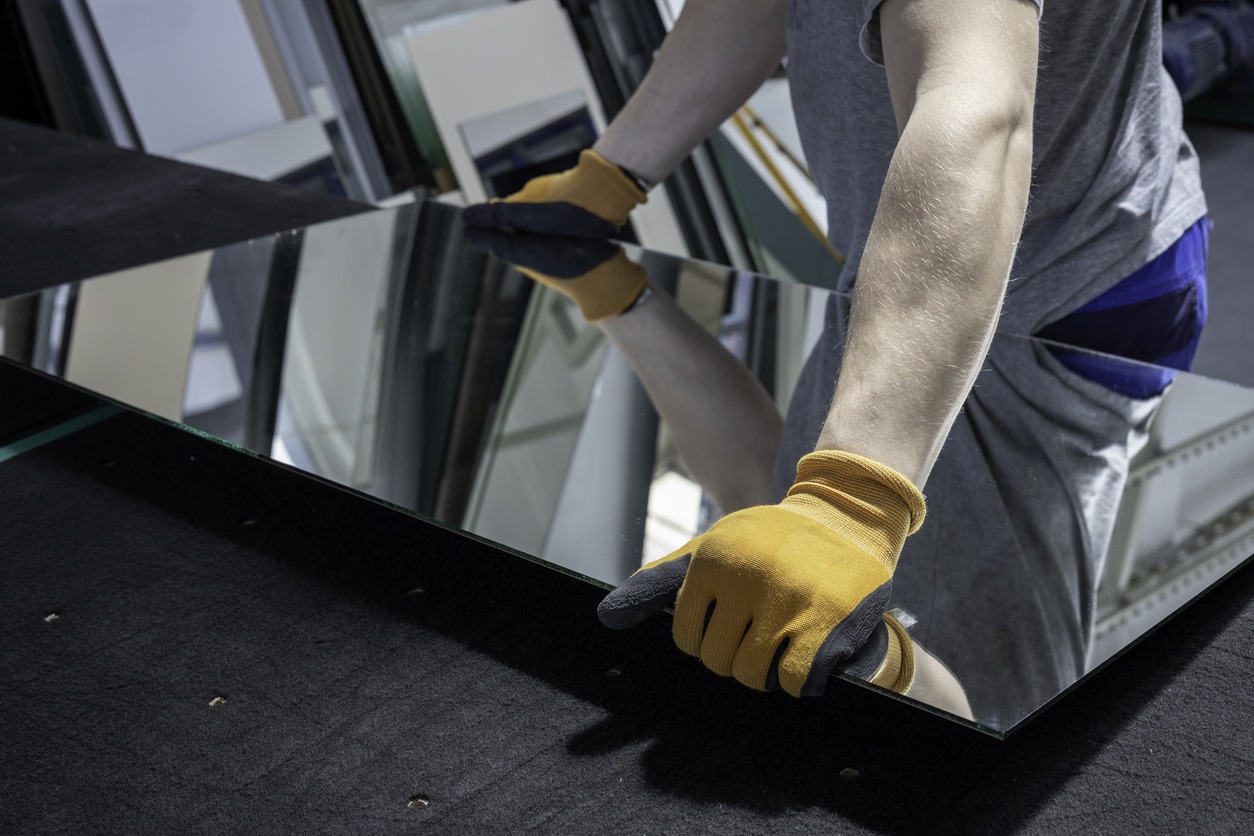
Some mirror cracks are too severe for DIY repairs. Deep cracks, shattered sections, or damage affecting the reflective backing often require professional help.
Glass repair specialists have the tools and expertise to fix complex cracks or replace the entire mirror if needed. They can also handle custom mirrors and large pieces that are difficult to repair at home.
The decision between repair and replacement depends on the mirror’s condition and value. If the mirror has sentimental or historical importance, professional restoration may be worth the cost.
For standard household mirrors, replacement is often more practical if the repair cost approaches the price of a new mirror. Consulting a professional helps determine the most cost-effective solution.
Preventing Future Damage
Keeping your mirror in good condition requires proper care and attention. Simple steps help reduce the chances of cracks and chips. Follow these tips to protect your mirrors and extend their lifespan.
- Use Protective Backing: Apply mirror backing film or safety tape to the back of the mirror. This helps hold broken pieces in place if the glass cracks.
- Avoid Direct Sunlight: Prolonged exposure to sunlight can cause temperature changes that lead to stress cracks. Place mirrors away from windows or use curtains and blinds to block harsh light.
- Handle with Care: When moving or cleaning a mirror, hold it securely with both hands. Avoid gripping the edges too tightly to prevent accidental breaks.
- Install Properly: Use sturdy mounting hardware that supports the mirror’s weight. Ensure the wall surface is even and strong enough to hold the mirror securely.
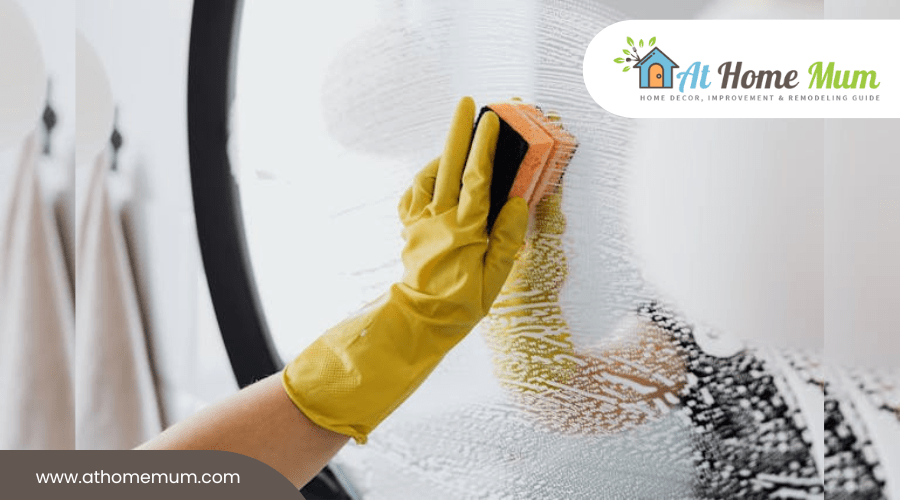
- Clean Gently: Use a soft, lint-free cloth and non-abrasive glass cleaner. Avoid harsh chemicals or rough sponges that can scratch the surface.
- Inspect Regularly: Check mirrors periodically for small cracks or chips. Addressing minor damage early prevents it from spreading and causing larger problems.
Conclusion
Repairing a cracked mirror doesn’t have to be complicated. With the right tools and techniques, many types of damage can be fixed at home, saving time and money. For larger or more severe cracks, professional help may be the best option. By understanding the repair process and knowing when to call a professional, you can keep your mirrors looking their best for years to come.
Related posts