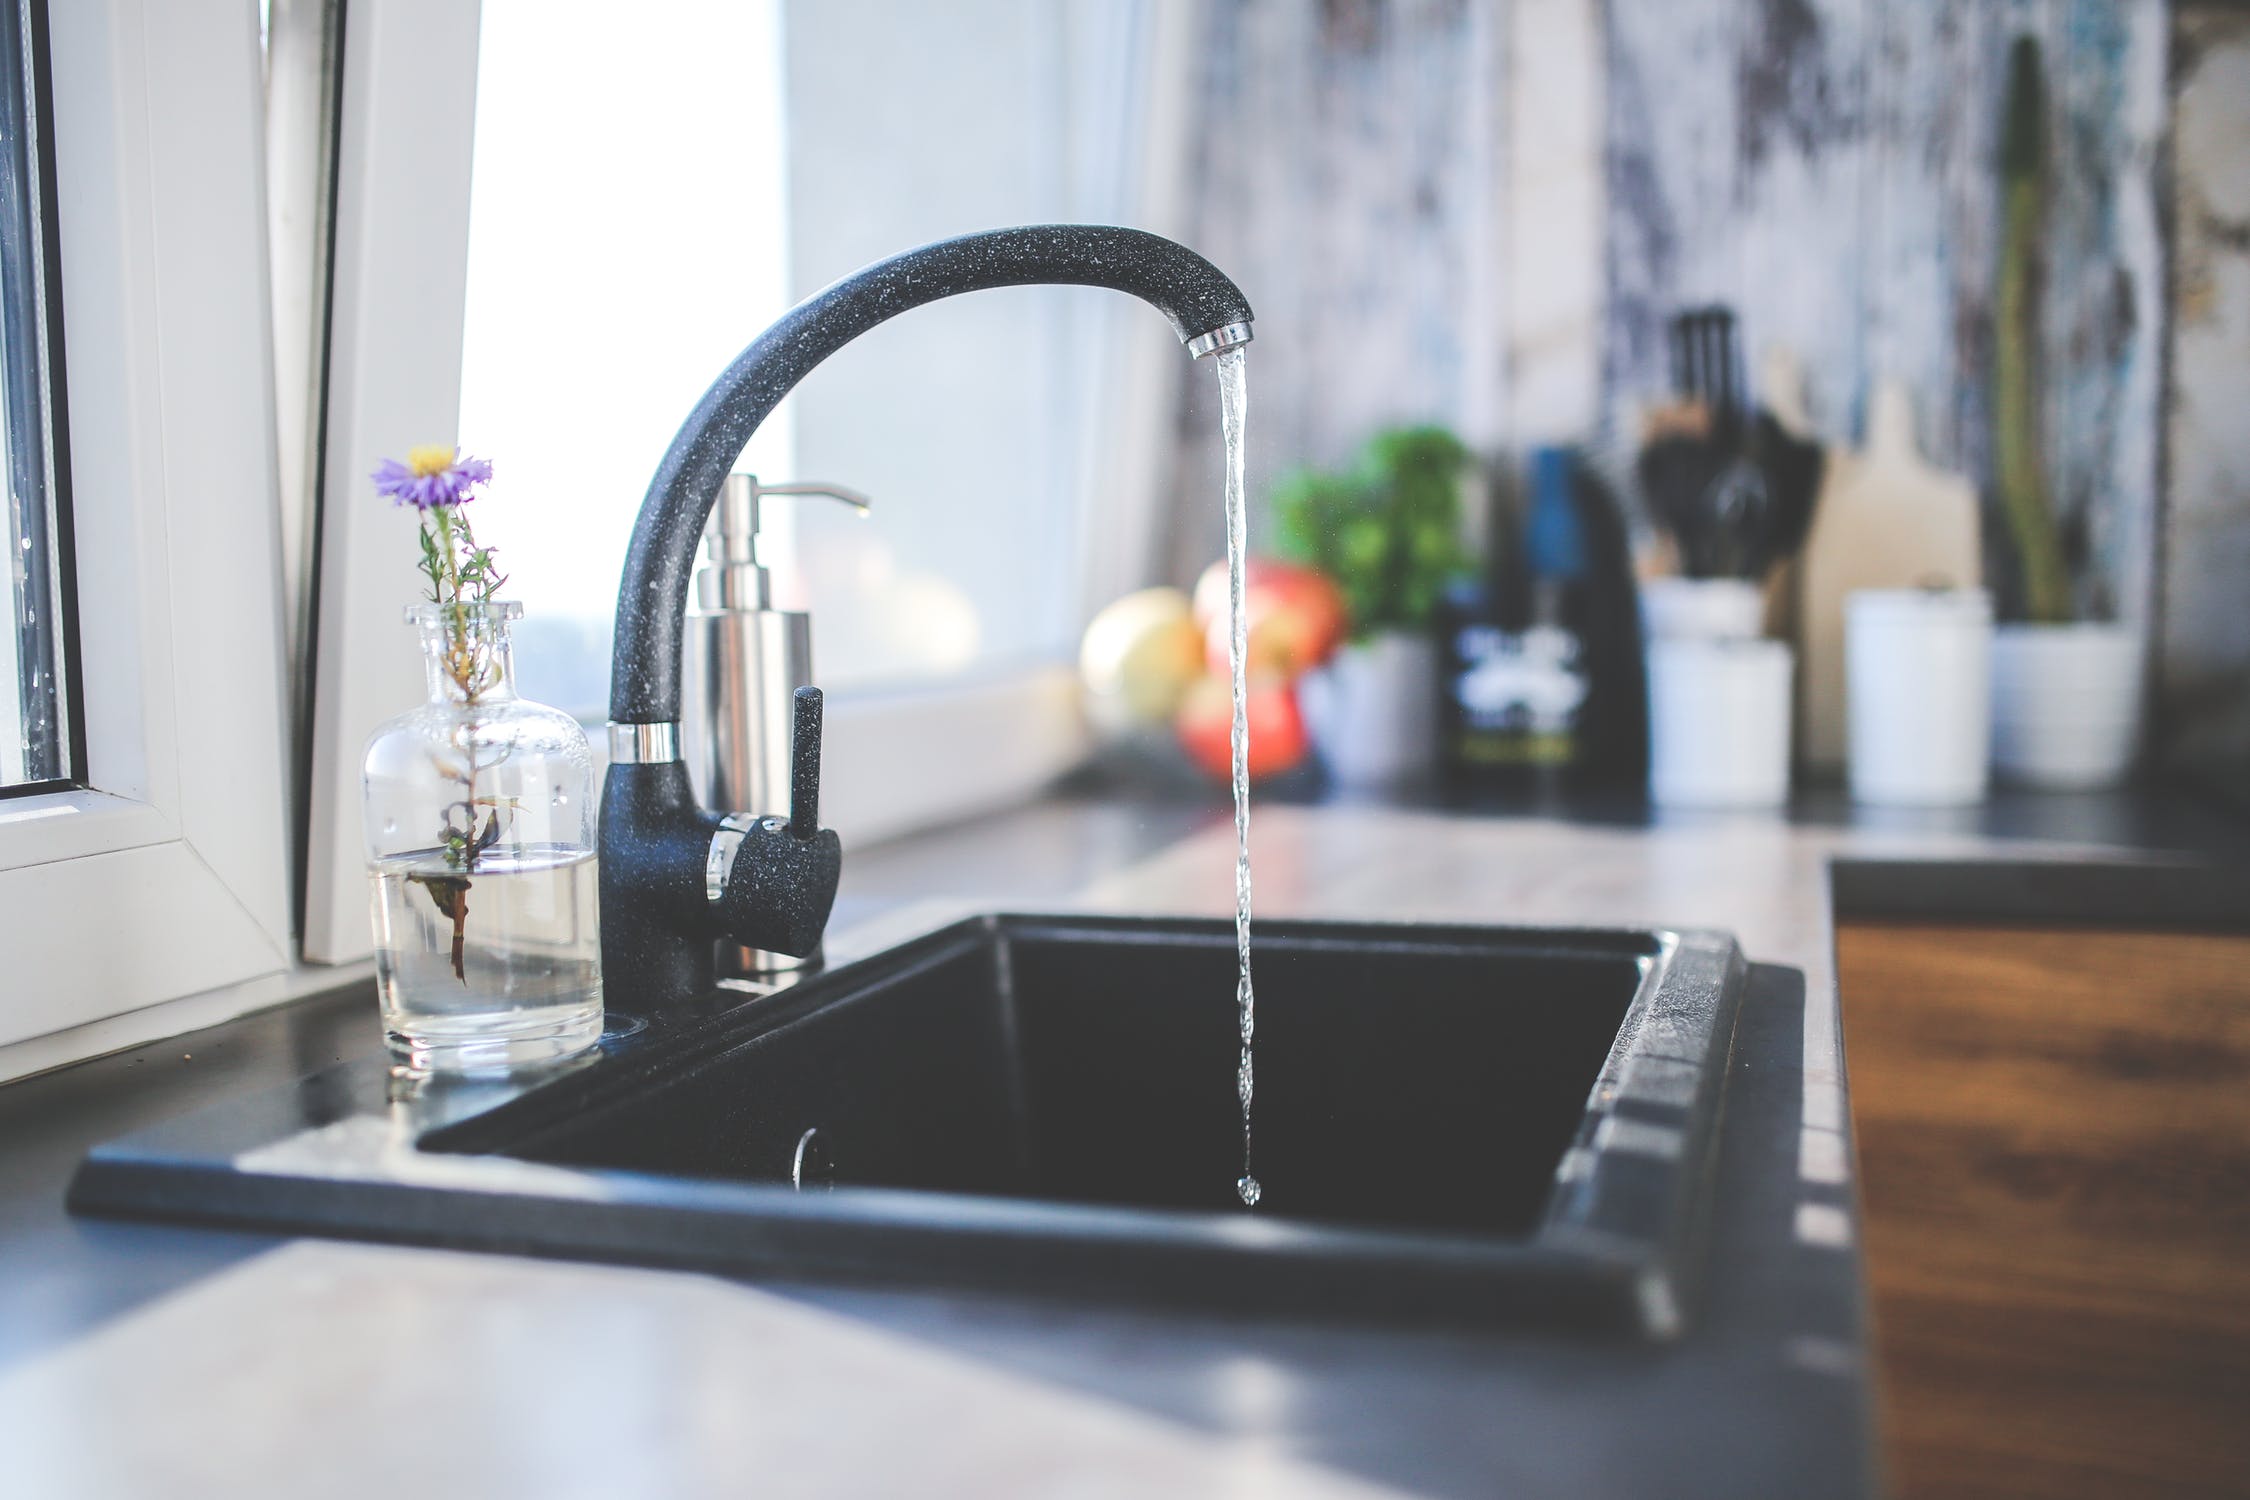
You just can’t imagine a farmhouse without a sink. This sink should not only be stylish and durable but it should also have a cabinet. These are not simple cabinets. Instead they have a strong support system inside for holding the heavy sink above. Let’s see how it proceeds step by step.
Farmhouse style features
They are usually located towards rural and suburban areas but modern farmhouses can give the features of classical farmhouse by using neutral colors for the walls, incorporating it with wood, wire baskets. You can use typical farmhouse light fixtures. You can use the furniture of old style. Check best kitchen sink ratings to find the one suiting your style.
What is it
These cabinets are not ordinary cabinets. But differ only in the drainage supplies they hold and the support they give to the sinks.
Types: There are different types available in market. Some of them are;
▪ Fire clay based apron front sink with single or double basin
▪ Standard sink base cabinet with or without drawers
▪ Grayscale shiplap
▪ Victorian vintage type
▪ Tuscan style
▪ Paneled cabinets
▪ Open face cabinets
Modifications
▪ You can mix the wooden only style with metal fittings too.
▪ Wooden doors can be replaced by cotton cloth coverings
▪ Soapstone countertops
▪ Metallic with compartments
▪ Wooden doors can be replaced by tinted painted glass doors.
Decorating the cabinet: A classical look can be added to the cabinets by including storage nooks. You can attach vintage baskets on the doors outside.
Prerequisites
▪ Clean the area properly before proceeding.
▪ Remove any old and worn out drainage pipes and fittings.
▪ Try to mop out moistened and dampened areas.
▪ Working area should be well dried and prepared for fittings and fixtures.
▪ Get all the supplies ready before starting the process.
▪ Go through the manuals and websites deeply as pre hand knowledge always helps in smooth proceedings.
Size and dimensions
The standard recommendations for building such a cabinet is 30” W×24” D×34.5″ H. But surely you can customize it according to your needs and available space. The things you should keep in mind while taking sizes are that it should neither be too small not oversized. Keep in mind you have to keep some room for best fittings.
Supplies required
▪ Plywood sheets
for building the base and sides of the cabinet. Ideally it should be 3/4 “ in width. Cutting sizes vary with your requirements.
For the panel of inset you need a plywood of ½ “ width.
▪ A faucets
▪ Pre-primed finger joint wood trim
4 supplies of ¾ inches for the front of the cabinet.
▪ Drill machine
▪ Nuts and bolts of different sizes
▪ Paint box and brushes
▪ Wood glue
▪ Ratchet bar clamps
▪ Saw
▪ Measuring tape
Steps
Building a frame for the base
It is built by nailing together a square frame of four 2×4s. Make sure that it is a wall to wall frame. As it has to support the structure above. This frame base is covered on the top by a ¾ “plywood piece. It is cut to remain 2-3″ beyond the frame in the front. This overhanging plywood helps in designing the supports for the sink.
Building support for the sink
It helps to give height to the sink. Besides height it provides the space for dumping in your lots of farm items. This storage, support and height is made possible by building a 2×4 frame. Besides the sides of 1×2 each and bottom of 1×4, you should support the top with 1×3. This top makes the base for fixing the sink over it. It is similar to building a table for supporting the heavy sink above.
Leaving the gaps for plumber fittings
You should not forget to leave gaps or holes for plumber fittings.
A template for the sink opening
Before cutting the template, you should decide how you want your sink top edge to be fixed with the counter surface. The options could be going under, at level or beyond the surface. After deciding this. You can use a cardboard to draw the sink template. Once you take the dimensions, cut it out with scissors. This template is protected with tape. This helps to protect the edges before final finishing.
Temporary sink fixing to test the fittings and sizes
You should place the sink on the support to counter check all settings before final permanent fixture. Once it fits in perfectly, you can put it aside. Fix the support on the base frame.
Door fittings
Now finally you move on to cutting out the doors of the cabinet. These are fixed on sides with hinges. The doors are sprayed with anti termite and moisture proof sprays. They are then painted. This helps to protect from termites attack and wear and tear in the future.
Installing the ADA kitchen sink over the cabinet: Once the doors are painted and dried, now you can fix the sink over it. These sinks are usually fixed by following the manuals brought with them. Then you can install the faucets of your choice. Here you are ready to enjoy the luxury of storing things in an organized manner in the cabinet and enjoying the sink beauty and working.
Precautions
▪ Take the measures and dimensions very carefully.
▪ Close the plumber fittings before proceeding.
▪ Make sure that the support should be strong enough to hold the heavy sinks.
▪ Wherever you are applying glue and paint, give it good time to dry.
Take home message
In our modern age, the latest trends are to avail the maximum place available. In farmhouses, installations of the sinks are now followed by building underlying support and cabinets. It not only helps in covering the drainage pipes but also provides extra space for putting in scattered farm items.

