
If you are blessed with a spacious bedroom, you may want to divide your space for more productive use. Perhaps you want your sleeping area divided from your reading area, couch area, or the office part of your room. Your family may have several children, but you can’t afford to give them all separate rooms, so you need a divider to do the task for you.
Here are some easy ways to make yourself a bedroom divider:
1. Place furniture as a divider
The easiest way to divide a bedroom is to strategically place furniture in a way they would act as a divider. Place open shelves, dressers or another tall furniture perpendicular to the walls to divide areas. This is a functional way to use a divider because you will be using them as storage also.
2. Put up a folding screen
Besides working as a divider, folding screens can also be decorative and easy to move around. Put it up anywhere you like to bring in some privacy between different sections of the bedroom.
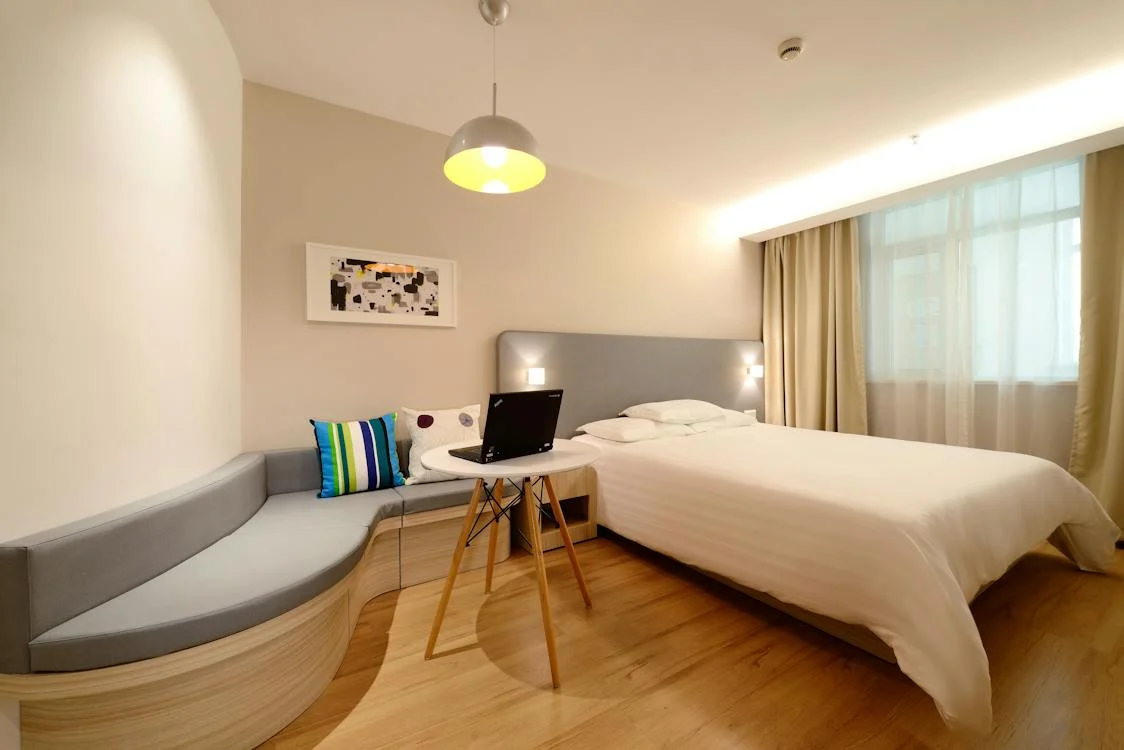
3. Use your headboard
A tall headboard can double-duty as a dividing wall. You may place your headboard (and of course, together with your bed) in a way that could cover up your dressing area, your bathroom, or another bed.
 4. Use curtains
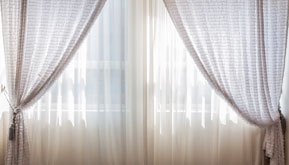
To add a little bit of privacy, a bedroom space can make use of curtains to split a room in half. If your bedroom has an alcove, this will be easy. But even if your room doesn’t have it or a nook on the wall, you can still add some curtains. By attaching a pole to the floor and ceiling, and a curtain wire from the pole to the wall. String it with two curtains. Since the weight of the curtain will cause the wire to sag on the middle, attach a wire from the ceiling to the center.
5. Create a freestanding wall
If you’re a DIY diva, you can build your own narrow, freestanding wall using plywood cuts and frame tiles. You can paint it with any color you like and then add décor. You can also cover it with wall art, or put a full mirror to keep space feeling open.
6. Create a pony wall
A pony wall, or sometimes known as a knee wall, extends only partway from the floor to the ceiling and does not support anything. To build a pony wall, you would need wooden studs, boards, multi-density fiberboard (MDF) and crown molding. A basic guide:
- First, build the frame by using2x4 boards as the top, bottom and side parts of the wall.
- Attach the boards using wooden studs and nail them parallel to each other.
- Position the studs closer together towards the other end that will not be supported by the wall.
- Align the frame next to the wall where you need to attach it.
- Attach it to the wall and the floor using screws.
- Add another 2×4 board on the top of the frame and add the ¾-inch MDF as walls (size must be enough to cover the whole frame).
- Nail them at both sides of the frame and at the edge of the wall. After that, you may add a pine top plate to create a broader top surface of the pony wall.
- Attach a crown and base molding to the top and bottom part of the wall to create clean corners.
- Sand rough spots and paint the wall to match the rest of the room.
Now, you have your own pony wall.
7. Use levels
Instead of closing off space, you can divide areas in your bedroom by playing with different levels. Elevate your bed by choosing storage beds that use space below as drawers. Or perhaps you might save more space by choosing loft beds that can use the space underneath as a workstation, vanity, closet or storage.
8. Use wood pallet
Wood pallets look great as room dividers. Just place them in your room nicely, standing up. You may sand the wood to make it smoother, paint it, distress it, or leave it as it is. It’s perfect for hanging up your frames and posters and effectively divides your sleeping area from your office area.
9. Hang a panel
For a more flexible dividing solution, you may opt for a detachable panel hung from your ceiling. By using a 30×60 artist canvass, you can create a beautiful hanging panel that acts as a divider. Choose a fabric of your choice and cover the canvass, stapling it into position at the edges. Cover the edges with a tape that may act as a decoration. Now, add screw hooks on the top side of the canvas and attach a matching ceiling hook on the ceiling by drilling a hole. Connect them and now you have a hanging panel as a divider. You may create two of this and to be placed on the other side for a balanced effect.