
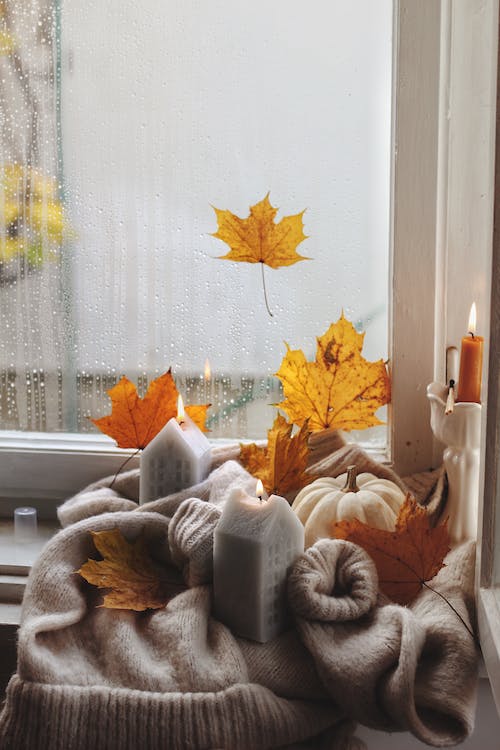
Don’t you just love the warm colors of fall? There are so many ways to incorporate it into your home décor in pretty yet easy and simple ways. Here’s just a practical tip: pick autumn decorations that can suit every fall holidays and events like the tailgate season, Thanksgiving and Halloween. Here are some easy, DIY decorations you can try for your home:
Line your porch with pumpkins and flowers.
There’s no other better way to show everyone that you wholeheartedly welcome the beautiful autumn season than by decorating your front porch with autumn elements. Add a maximum curb appeal to your home by displaying pumpkins, gourds, and plants like mums and crotons. Pumpkins are one of the season’s most visible items and mums are one of fall’s quintessential flowers – make sure you use them both liberally.
Procedure:
- Gather large and medium-sized orange pumpkins, different colored gourds, a bunch of mums and croton plants.
- Pile pumpkins and gourds along the steps of your front porch.
- Add in pots of croton plants on the sides.
- Pile pots of mums in different heights next to either side of your front door.
There is no right or wrong way to do your arrangement – just be creative with piling and combining pumpkins and gourds of different sizes. You may also use a big, flat-bottomed pumpkin as a flower pot for mums if you would like to display picked, not planted flowers. Simply clean the pumpkin, cut a hole on top, then scoop the seeds. Line the scooped area with a plastic bag or aluminum foil, then place a wet floral foam inside. Carefully let the stems pierce to the foam for the flowers to stay in place.
Create a rustic touch to your fireplace mantel.
A lot of autumn decorations suit rustic interiors. But even if your home is not in rustic style, you can add a touch of it using quick arrangements, especially on your fireplace area. Create a mantle top decoration using votive holders and pumpkins, and dazzle it up with a garland of colorful autumn leaves.
Procedure:
- Gather a lot of autumn leaves, 3-5 pieces of large votive holders (preferably in orange or black color), small white pumpkins, wire, twine rope, and temporary adhesive hooks.
- Wrap twine rope several times around your votive holders and insert one colorful fall leaf for each votive. Secure it with a knot nicely done.
- Top each votive with a small white pumpkin. To create different heights, stack more pumpkins on top of some. Place these items on top of your mantel.
- Gather your autumn leaves and rinse them gently in water to clean. Let dry.
- Preserve each leaf by coating Mod Podge on their surfaces. Let it dry completely.
- Cut the wire to your desired length or according to the length of the mantel. This will serve as the backbone of your garland.
- Fasten the leaves on the wire until you have fully covered the wire so it would look like a garland.
- Attach the garland to the mantel using adhesive hooks.
Make a candy corn wall art using buttons.
Button art is an easy, affordable and extra cute decoration that adds a pop of color and texture to a wall. Try making one yourself based on the design of famous autumn and Halloween candy, the candy corn.
Procedure:
- Get a bunch of buttons in yellow, orange and white (in different sizes), burlap, 8×10 frame, glue gun, hot glue, Mod Podge, and acrylic paint in yellow, orange and white.
- Glue the burlap to the back of the frame. Trim the edges that hang over the frame using scissors.
- Draw an outline of candy on top of the burlap. Paint in the lines of the candy corn outline using acrylic paint – use yellow for the bottom layer, orange for the middle and white on top. Let dry.
- Glue your buttons using a glue gun. Start with filling out using larger buttons, then fill in the gaps with smaller buttons. You will use the most buttons on the yellow layer since it is the biggest part.
- Place your work back in the frame and hang on the wall.
Create a simple floral mobile using fall leaves and flowers.
Decorate your dining area or bedroom with a customized floral mobile that features your favorite fall colors. Using colorful yellow and orange autumn leaves, as well as fall flowers like mums, pansies and Russian sage, you can form an autumn-themed floral mobile to prettify your interiors.
Procedure:
- Get an embroidery hoop, twine, hot glue, glue gun, ceiling hook, twine or lace, white embroidery floss, at least a dozen flowers, and at least a dozen leaves.
- Dab a bit of hot glue to any part of your embroidery hoop. Place the edge of the twine or lace to keep it in place. Wrap the twine or lace around the hoop until it is fully covered. Dab a bit of hot glue again on the end.
- Wrap a knot on the stems of each of your flowers and leaves using white embroidery floss. Cut the embroidery floss in varying lengths so it would look better when hanged on the embroidery hoop.
- Cut two pieces of the floss, both with a length about 4 inches longer hoop’s width. Get one and tie a knot on two opposite sides of the hoop. Repeat with the other piece to form an X.
- Cut another long piece of the floss and put it in between the X you formed earlier. Tie a knot on top – this will be used to hang the mobile on the ceiling hook.
- Attach the ceiling hook to the desired area and hang the mobile.
Display colorful painted acorns in a clear bowl.
If you like decorating your coffee tables and console tables with pebbles or stones on a clear bowl, try using stray acorns for a change. It’s easy and fun to make with your kids.
Procedure:
- Collect stray acorns you can find on your lawn or street. Rinse them in water and let dry.
- Get a foil-lined cookie sheet and place the acorns on it. Bake them at 170 degrees Fahrenheit for a few hours to totally dry the acorns out.
- Get some acrylic paints in shades of lime green, cerulean blue, orange and gold. Use one color for one piece of an acorn. Paint your acorns following the grain of the nut. Keep the caps of the acorn unpainted. Let dry.
- Add another coat of paint if you want an opaque look, but it looks better if you keep the grains visible.
- Once every painted acorn is dry, place them on the clear bowl for display.